


Cue the Christmas music and hang up your stockings, it is finally Christmas time y’all! With only weeks away from Santa’s arrival, we wanted to do something to inspire you to keep the little ones occupied. So, we bring you “12 Days of Christmas Crafts.” Much like the popular Christmas song, we will give to you a new Christmas craft idea for 12 consecutive days. The posts will include everything you need to know from ingredients to instructions to little tips. Let’s get right into it!
On the second day of Christmas, Red Stick Mom gave to me … DIY Christmas play dough bins and a contact paper Christmas tree activity.
I am way too excited to share this one. Honestly think I may have more fun creating these bins than my kids have fun playing in them- and they have a lot of fun!
What you’ll need:

Play Dough Recipe:
- 1 cup of flour
- 1 cup of water
- 1/3 cup of salt
- 2 tsp cream of tartar
- 1 tbsp of vegetable oil (canola works too)
- ¼ tsp for peppermint extract or essential oils
- Choice food coloring
- Optional: glitter
For the bin:

- Mini roller
- Christmas cookie cutters
- Mini Christmas trinkets from Hobby Lobby or Dollar Tree
- Any bin with multiple cubbies (mine is from Ikea)
How to
Making homemade play dough is one of the most satisfying things I’ve done in my adult life and you’ll soon find out why I say this. Want to add even more fun? Let the kids join in the making process. It is easy enough for them to do it themselves, with supervision of course. My kids loved watching the mixture turn into dough.
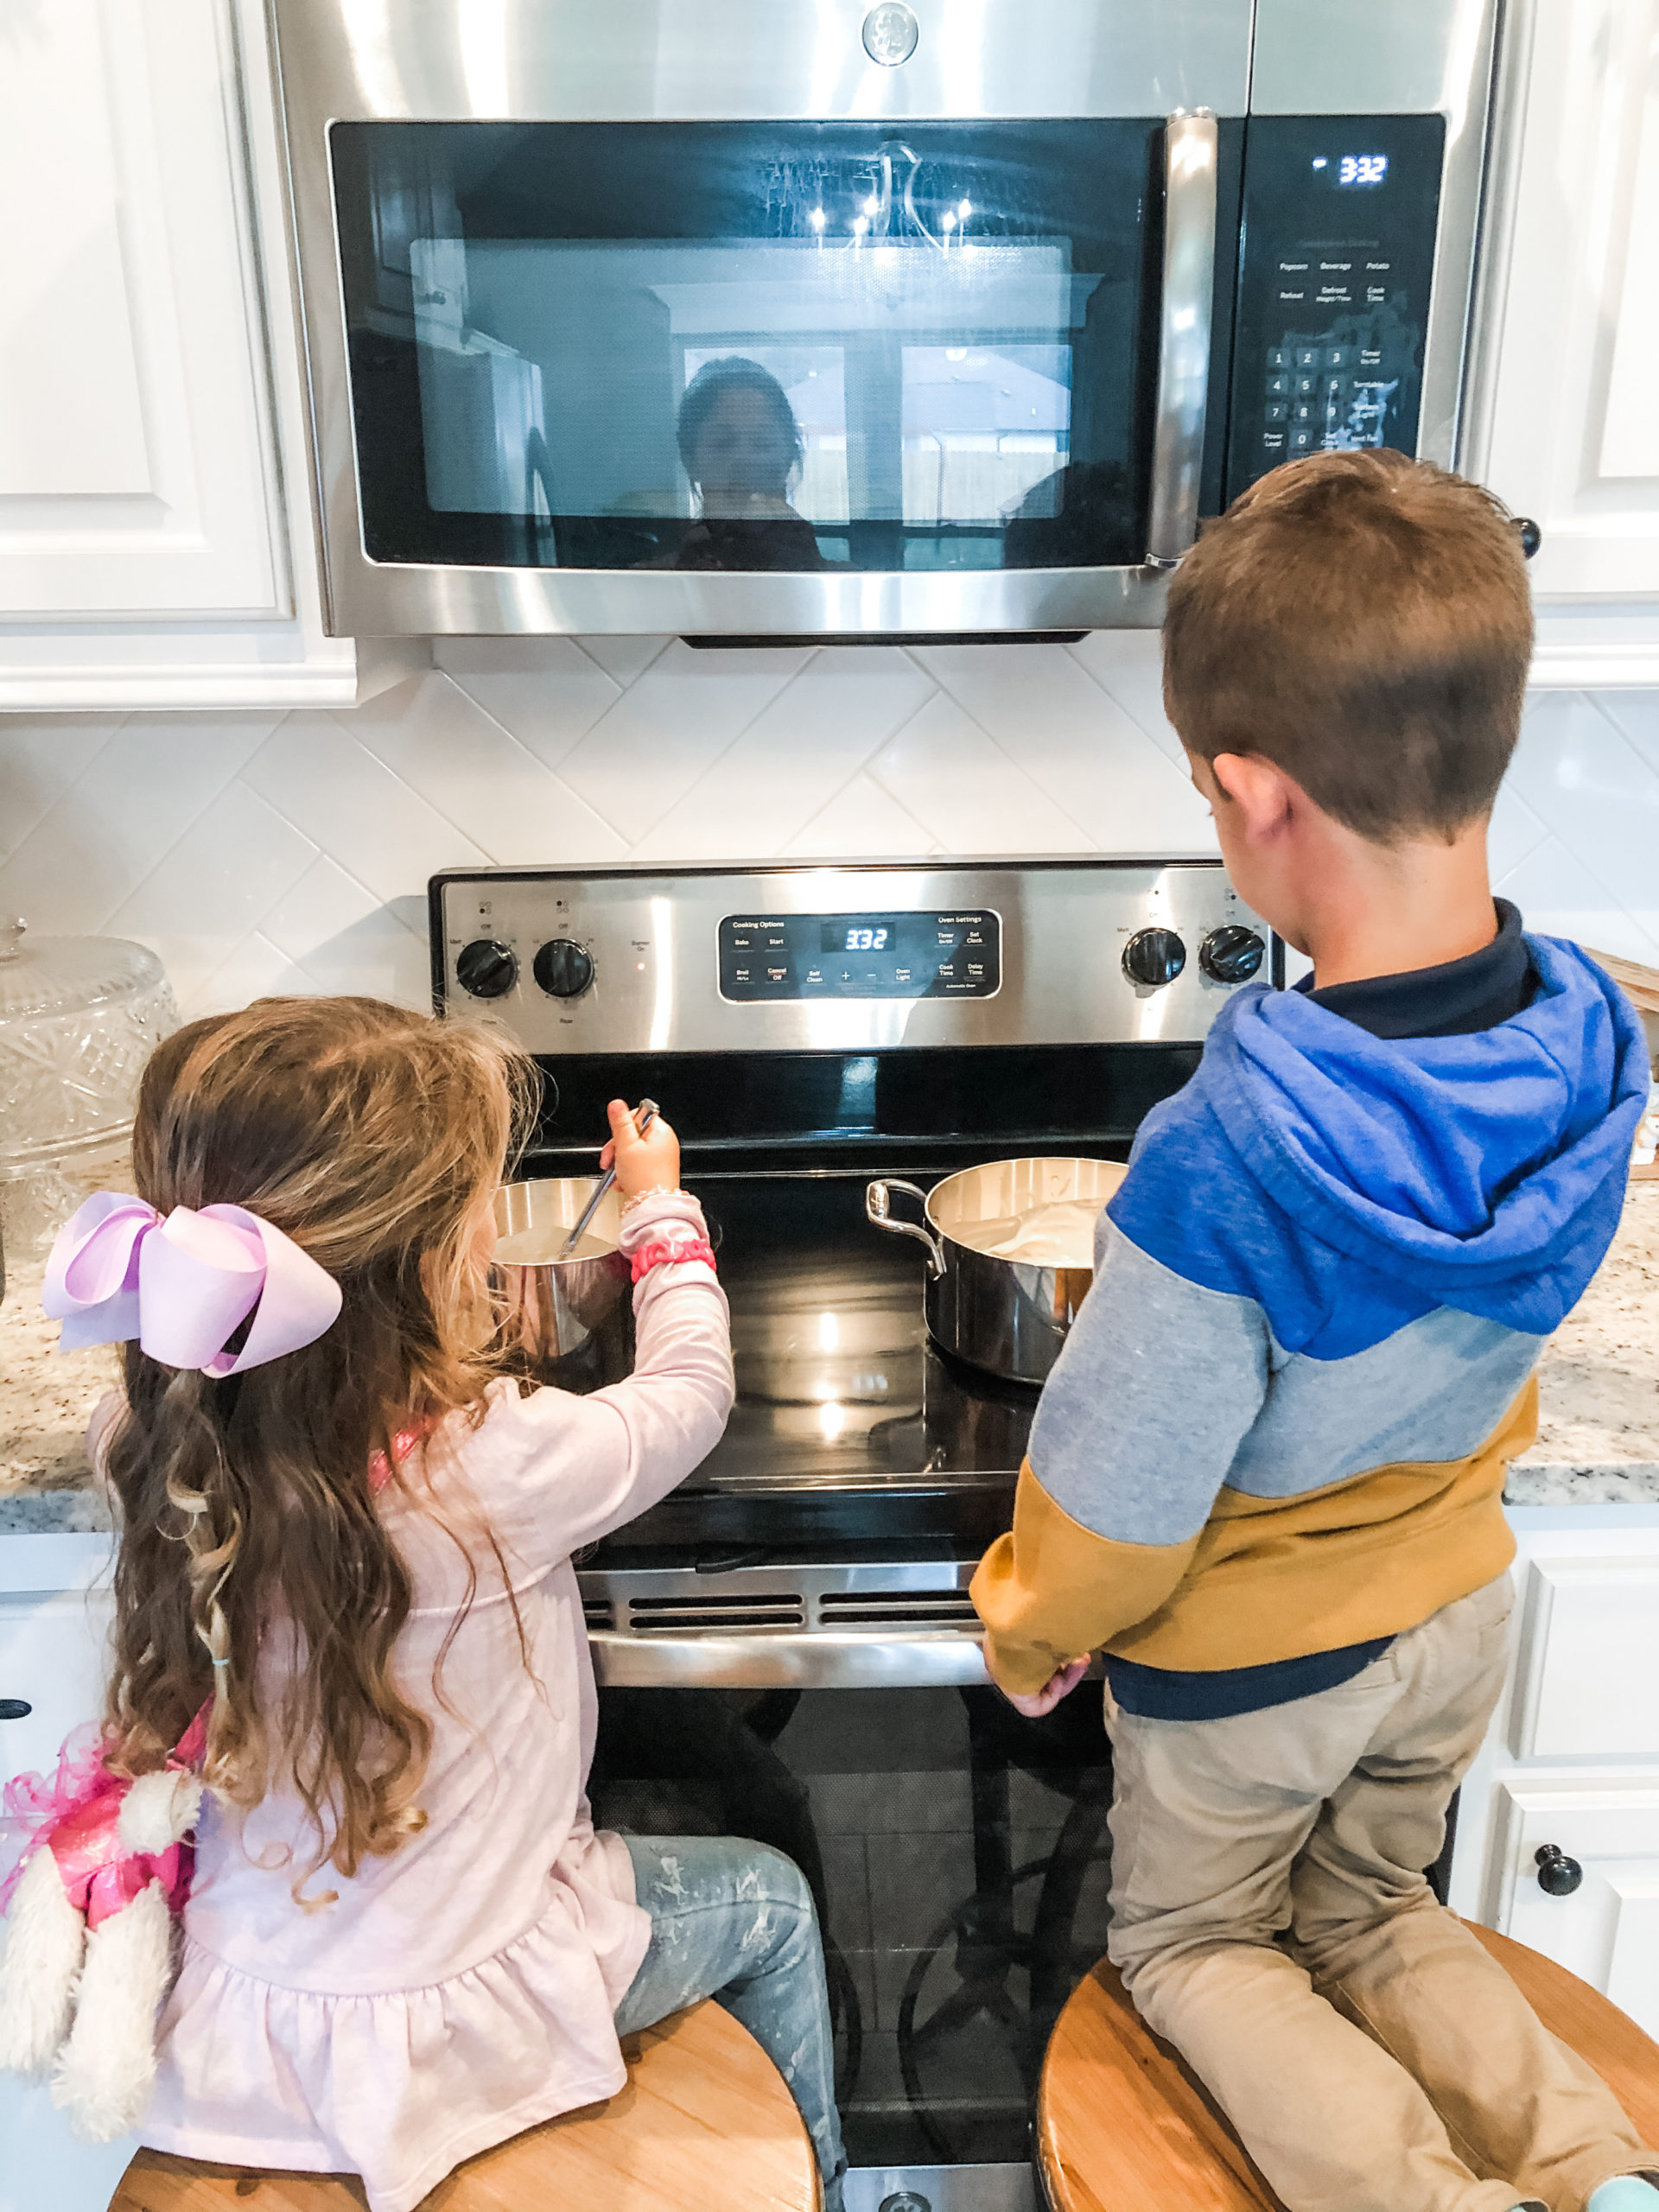
Mix together the flour, salt, and cream of tartar in a small saucepan. Then add the water, oil, and extract. Enjoy that peppermint smell, you’re welcome! Bring the stove heat between medium and low, stir often. There will be lumps and that’s okay. Just keep stirring the mixture until it turns a little more solid. This usually takes about 2-3 minutes. Add the food coloring right away, trust me on this. I have red stained hands from the dye to prove you don’t want to wait. When the play dough is done, it will start to get firm and create a ball in your pot. Your Christmas play dough is now done!
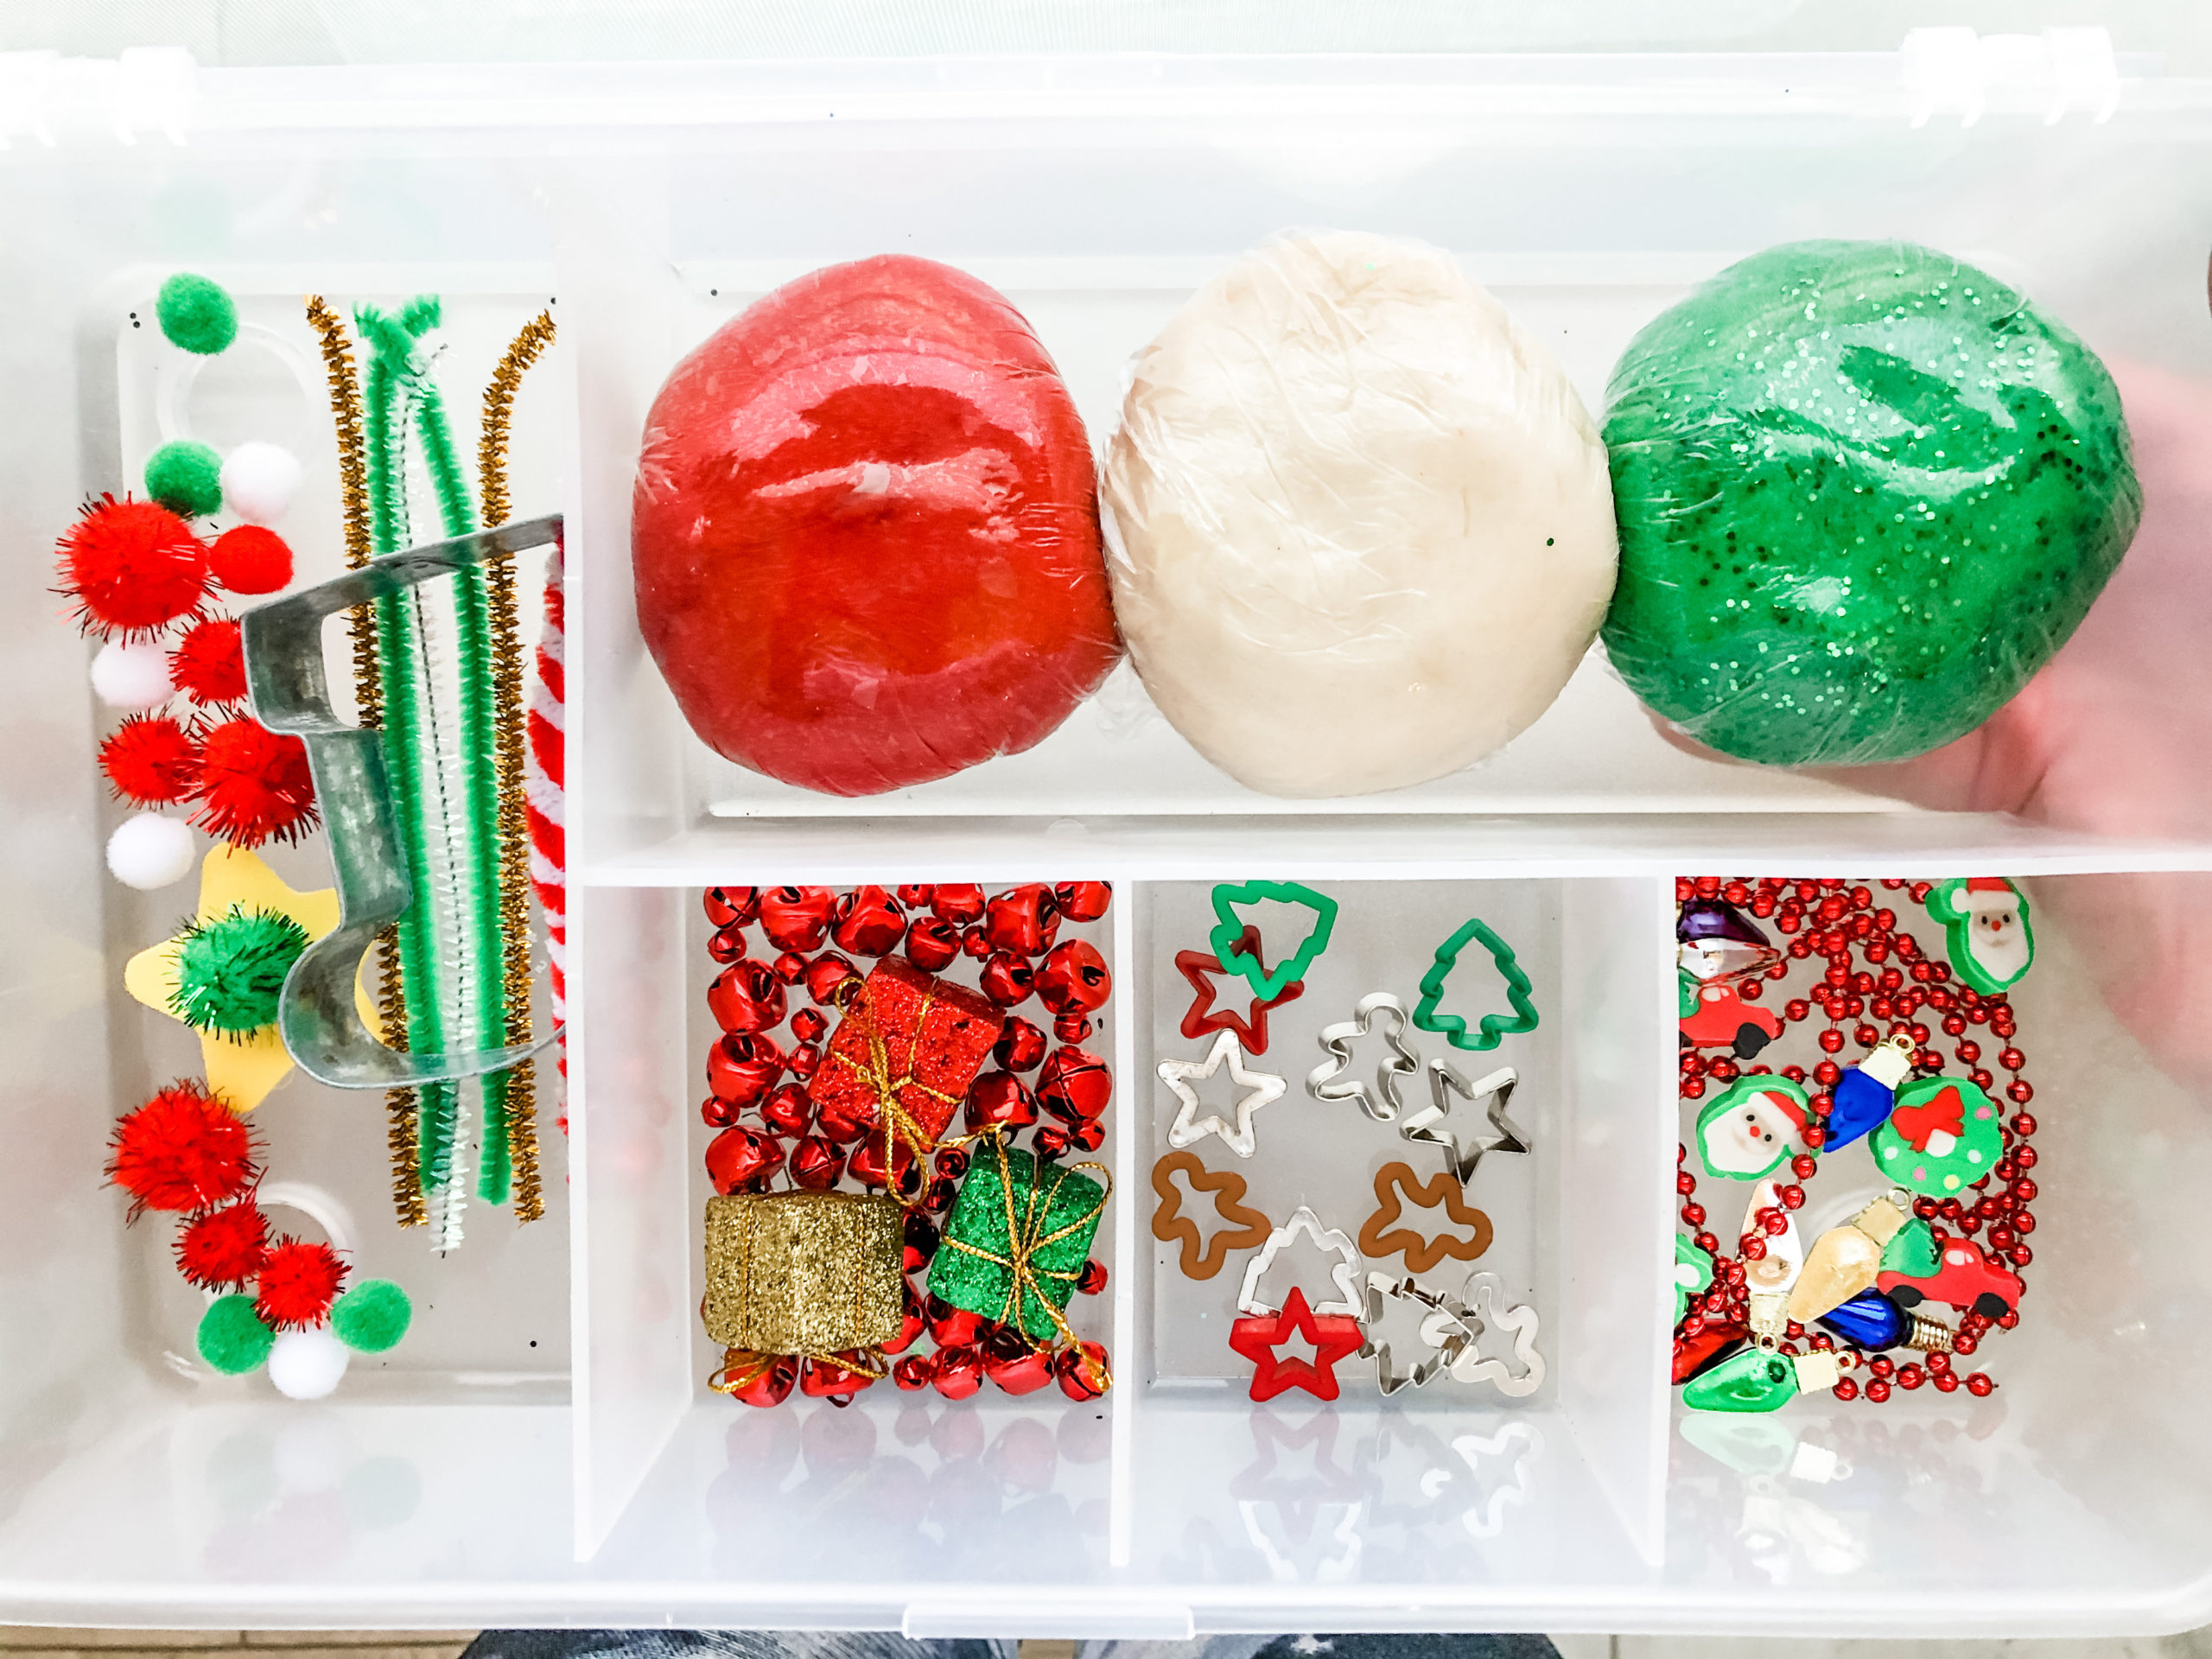
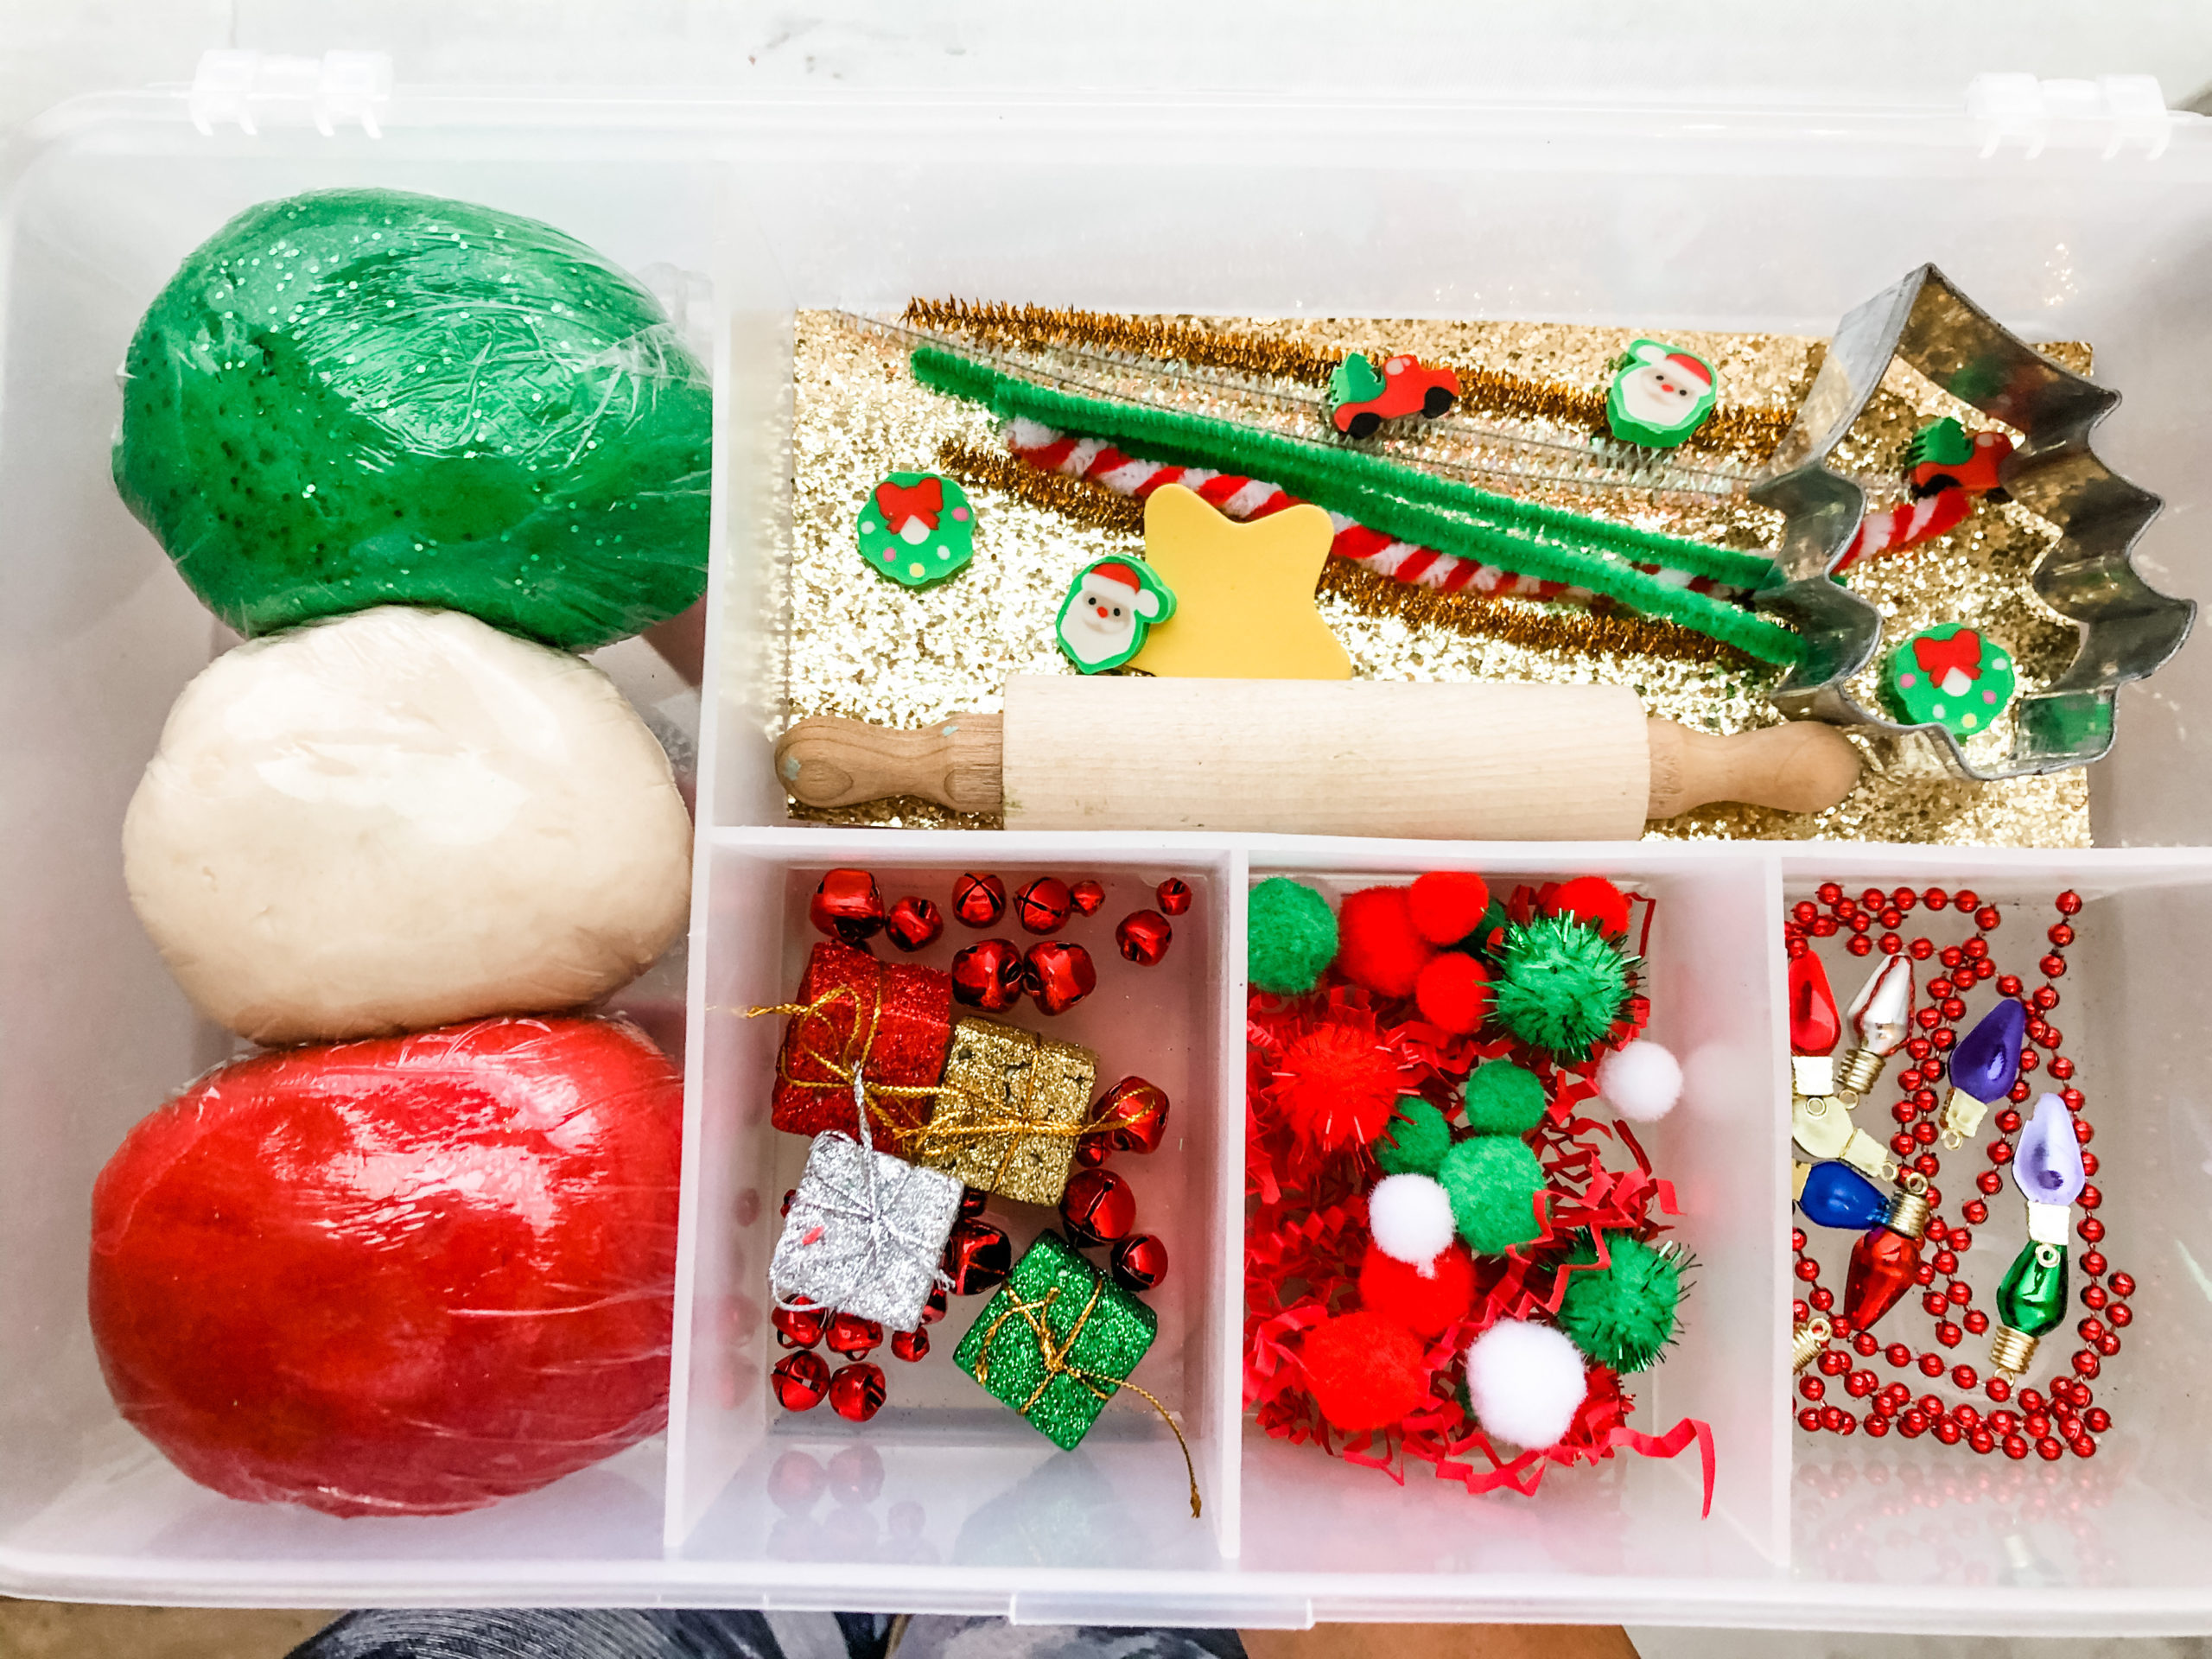
Now you’re ready to create your play dough bin. Honestly, there is no right and wrong way to put these together. Mini trinkets and random crafting goodies work perfectly as fillers. Pipe cleaners and pom poms are always the first things I add in because I always have them on hand. For this project specifically, I went to Hobby Lobby and grabbed a few things to add in. The beads, buttons, santa erasers, and mini present boxes are all from Hobby Lobby. The rollers are also from Hobby Lobby, they come in a pack of 3. If you’re feeling extra fancy, find cute scrapbook paper and cut to fit one of the sections of your bin. It adds so much pizzazz and I am such a sucker for pizzazz!
Tip: wrap your play dough Saran Wrap for an air tight seal that’ll aid in your play dough lasting longer.


