Disclosure :: affiliate links are included below.
Greeting Card Upcycle :: Make Gift Tags
I am notorious for not having a tag on a gift. I usually scramble around in the closet picking out a gift bag and coordinating (non-wrinkled) tissue to stuff in the gift bag, but then I’m left without a tag. For close family it’s usually not an issue, I’ll just shout out “it’s from me, I didn’t have a tag,” but now that my kids are being invited to parties I need to do better. One day I’ll get around to making those cute personalized stickers or square business cards as tags, but today is not that day.
What I do have is an abundance of old greeting cards.
I’ve kept greeting cards for years, decades actually. I recently decided it was time to let go of a lot of the “stuff” that was taking up space in my life. I have a really hard time just throwing things in the trash when they can have a second life, or serve a different purpose and it was this line of thinking lead me to converting pieces of old greeting cards in to cute and free gift tags!
The Why

I had this idea several years ago when I was invited to a wedding shower, but didn’t have an appropriate tag for the beautifully wrapped gift (go figure). In a pinch, I used part of the invitation to create a tag. The bride even commented on the tag and how she liked that I used the invitation. So it seemed logical to see how I could do the same with greeting cards.
My family is very big on cards. Every birthday and Christmas everyone gives you a card. I’ve started to be more discerning about the cards I keep as “cards.” If they have a special handwritten message or a meaningful subject matter, I’ll keep it as a card. If it just has a signature I look at it as an opportunity to create something new. Recently I gathered some Christmas cards from years past and decided to create some gift tags.
The How
Gather your cards, scissors or paper cutter, and your imagination. I also purchased a little cutter to round the edges of my tags. I use a single hole punch to create a spot for the ribbon. A set like this has everything you’d need. If you’re already crafty and have a cutting machine you may be able to use that to take the manual labor out of this fun little craft.
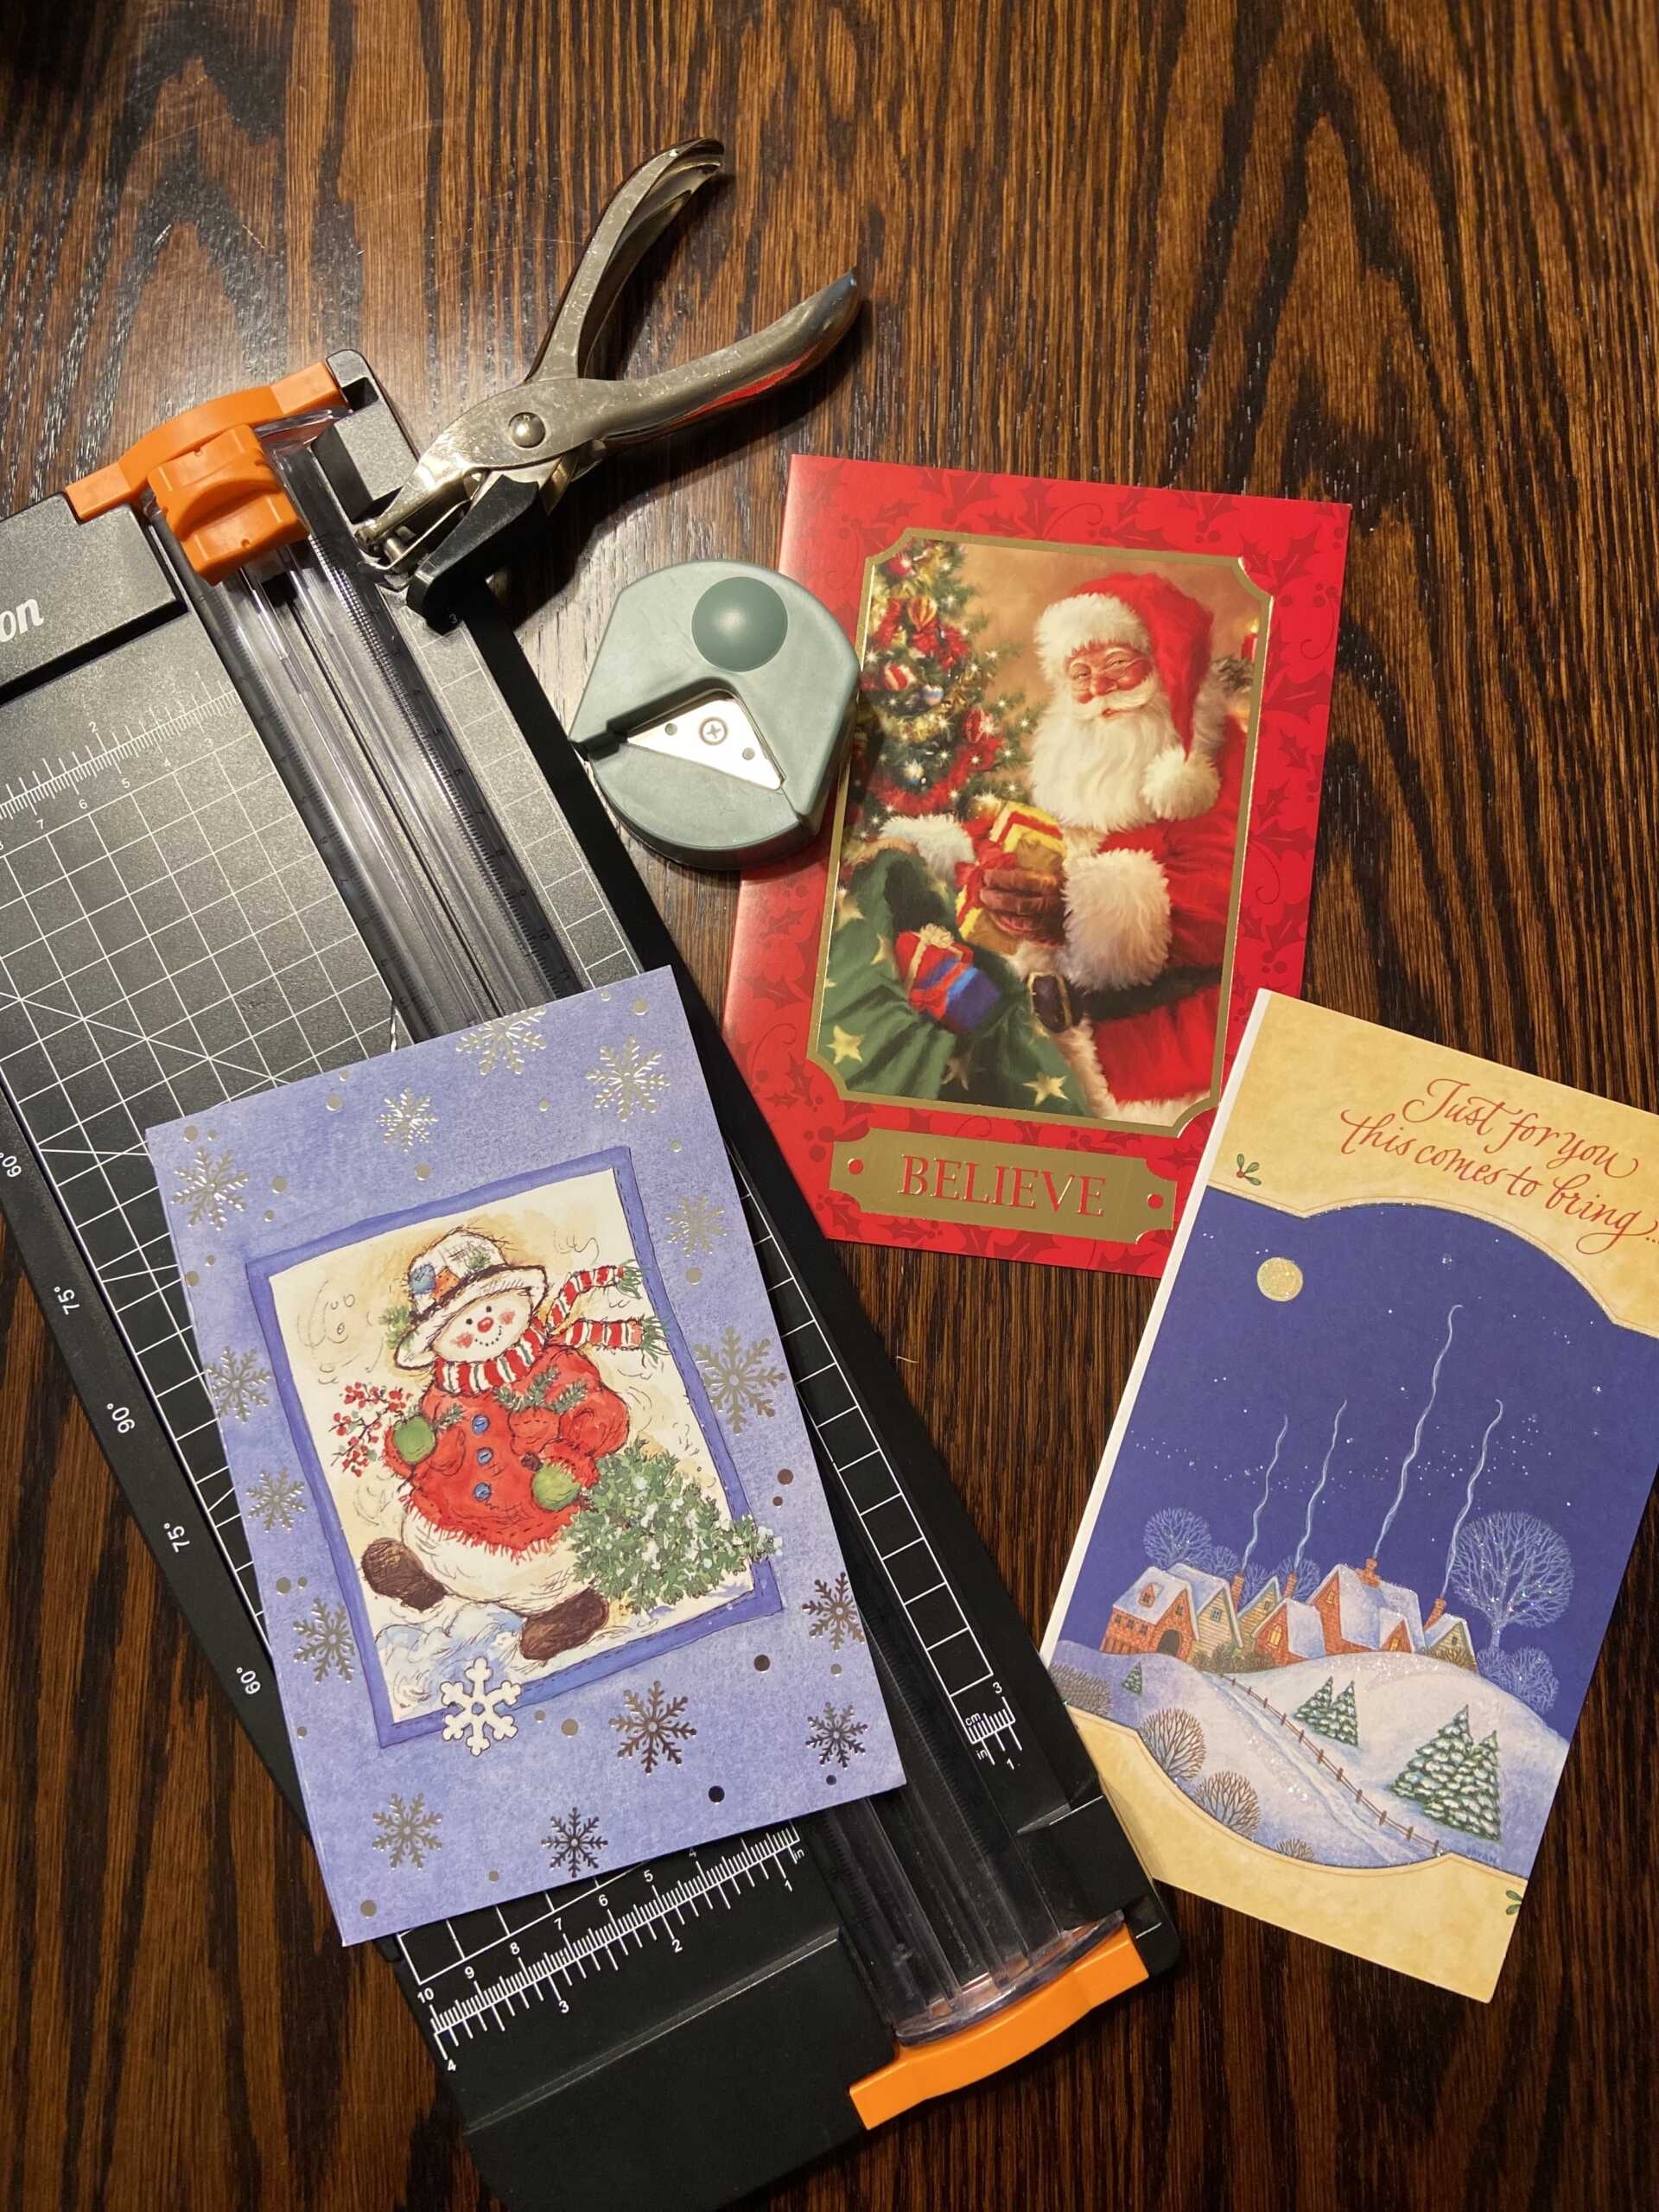

First, I cut the card in half down the seam/fold. It’s easier to work with the smaller pieces. Then I take a moment to decide what I want to use as a tag. I’ll cut it out with scissors first if it is a tight squeeze and I want to have multiple tags from the same card. Then I use my slicer to trim it down to my desired size. Depending on the situation the remains will either be returned to my “card craft box” or cut into additional tags. I use the cutter/corner rounder to polish it and the hole puncher for the spot for the ribbon, if it is going on a bag. I am not a crafty person, but this is a quick and easy “craft” that has come in handy.
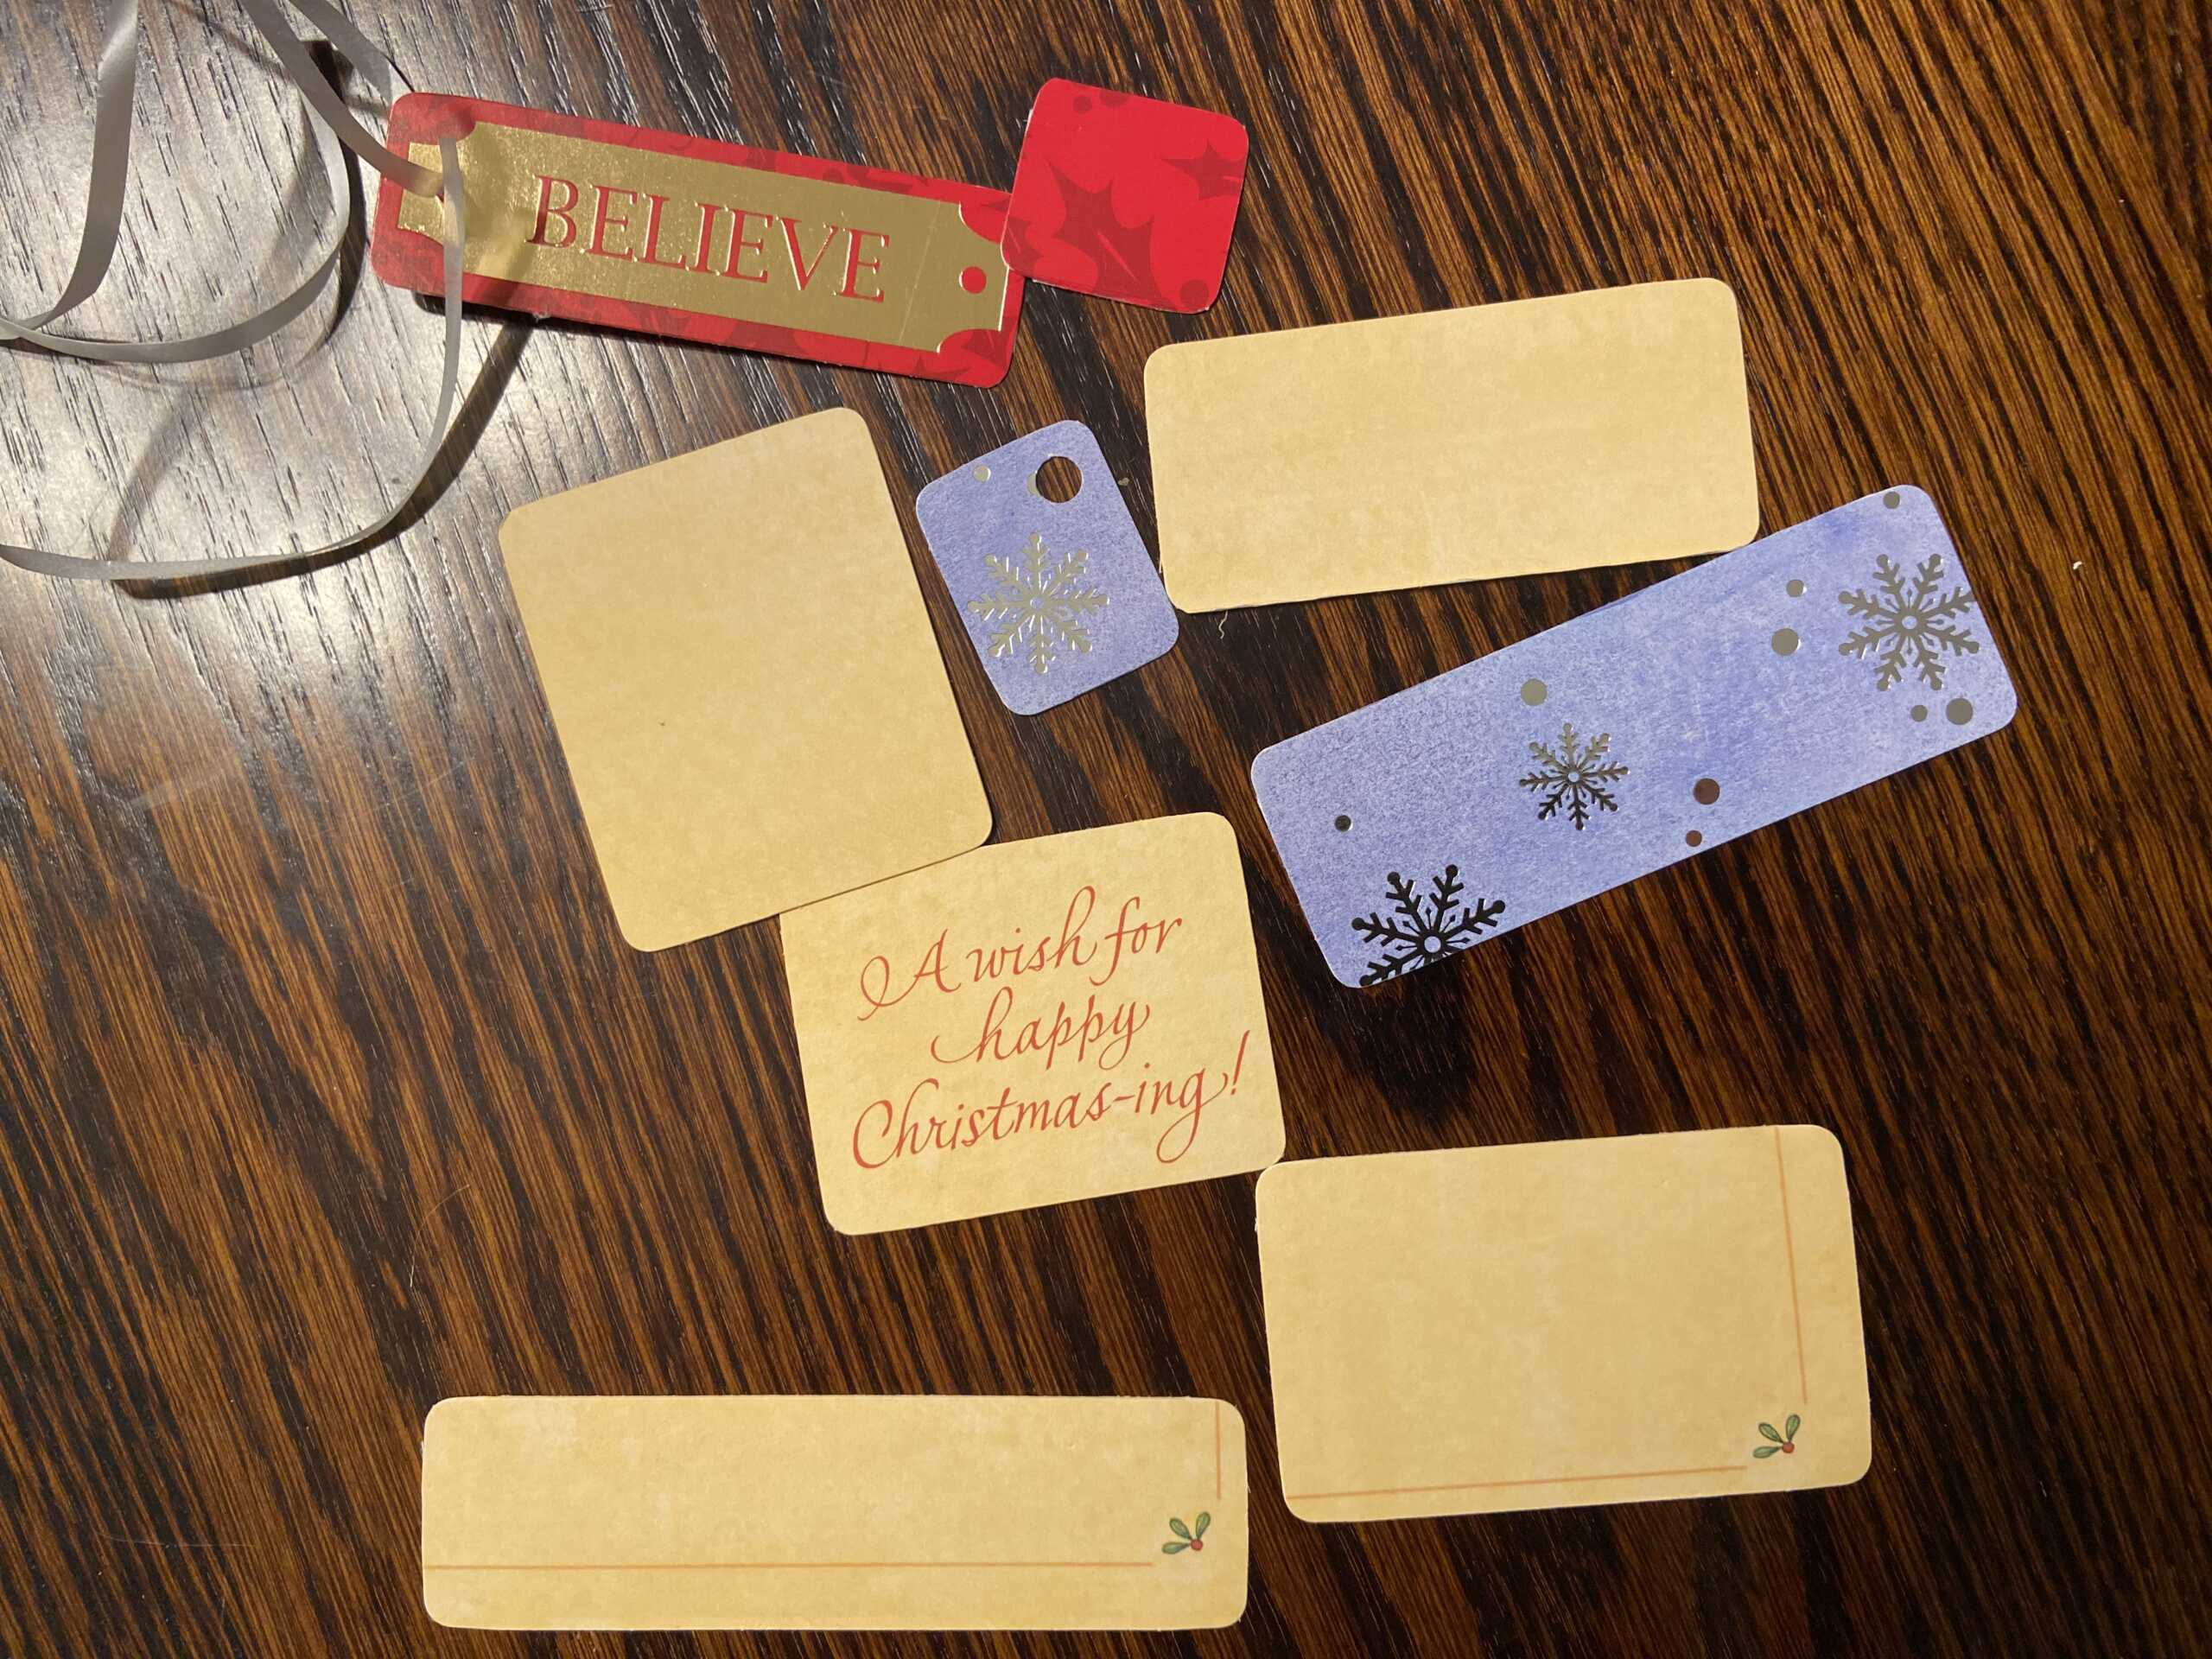

Considering the number of greeting cards I have and all of the holidays and life events they cover; I may never be in need of gift tags again!.
As I mentioned above this is a great trick to get an “on theme” gift tag for a shower, graduation or party. In the future, I may attempt to do this to create book marks, wall art and other fun little crafts. Come back to Red Stick Mom to see future posts on other ways to upcycle old greeting cards and ways to preserve those that you want to keep intact.


