A few years ago, I (as a new mom of one) hosted a little potluck pool party for some mommy friends and their tots. One of my friends showed up to my house, with her three little kids in tow. As she dashed by me, chasing her toddler who was heading straight for the pool, she hands me a plate of beautifully decorated chocolate covered strawberries. I was in awe. I couldn’t remember if I brushed my teeth that morning (actually, I think I did since company was coming over!) but she was able to make such a fancy dessert…AND SHE HAS THREE KIDS! I resorted to the fact that she must have paid someone to make them or had someone watch the kids.
All afternoon I thought about those strawberries. Seriously y’all, it was really bothering me! Finally I asked her how in the world she pulled off chocolate covered strawberries. She told me they are so simple, hard to mess up, and the kids love to help. A few weeks later, I decided to give them a try, and you know what… they were so easy!!! They became my new “WOW” item I brought to any function. Everyone always loved them and was so impressed!
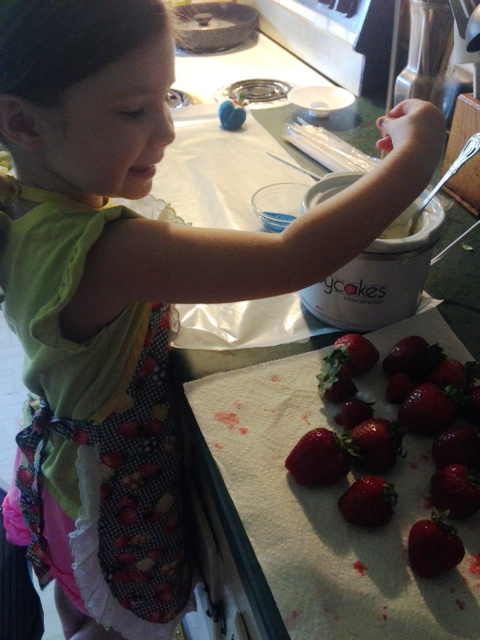 It wasn’t until about a year ago, someone asked me to make 400 off them for a wedding. I didn’t feel like it was that big of a task because they are really that simple. I just had to plan making them around Ava’s nap…well, Ava of course woke up shortly after I began and certainly wanted to help. I had no other choice. Surprisingly, in the end, she was actually a really big help! Ever since then, it has become OUR “WOW” item that we bring to gatherings. And even if they don’t look perfect, I had the help of a 4 year old, so people tend to be very forgiving.
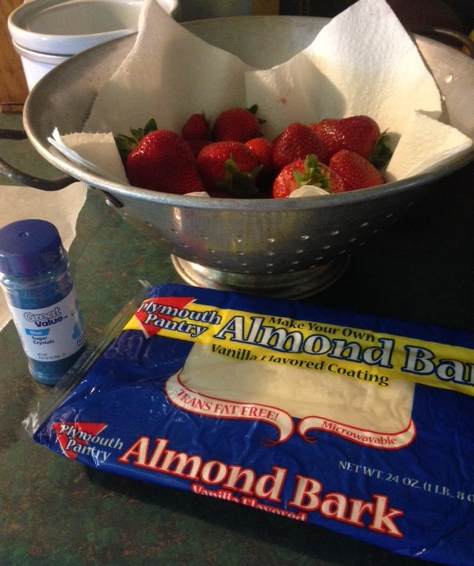
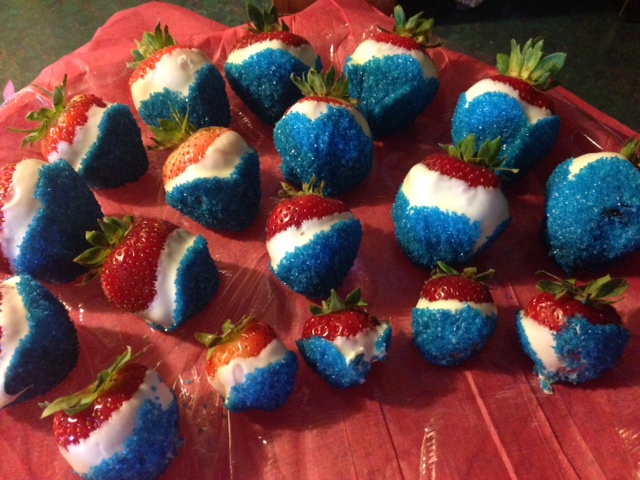
For the 4th of July, we make Red, White, and Blue Chocolate Covered Strawberries. This is really simple since the strawberry is red, the vanilla almond bark is white, and you dip with blue sprinkles! Kids love to help, so be sure to get them involved in the dipping fun!
1. Gather all of the ingredients. I try to buy local strawberries when in season but since they are not in season during July, I get the best I can find. They need to be room temp or slightly cold, when dipping them. A lot of people say that the chocolate you buy is what makes the difference. I disagree. I actually buy a cheaper kind. I have found as long as you follow the directions, it works just as well. And if you do mess it up, it didn’t cost a ton! Finally, get blue sugar sprinkles. If you can’t find any, you can always put some white sugar in a Ziploc and add a few drops of blue food coloring, mix and you have blue sprinkles!
2. Melt the chocolate according to the directions on the package. Chocolate can be temperamental (we are all moms so I think we can handle bad tempers!) so be sure to heat it low and slow. If you overheat it, there isn’t really a way to make your strawberries have a pretty, smooth coating.
3. While the chocolate it heating, get the strawberries and sprinkles ready. I wash the strawberries the day before. This is to ensure they are completely dry. If the strawberries are wet or too cold, the chocolate will clump. Pour some sprinkles in a bowl deep enough to roll the strawberry for coating.
4. When all is set up and chocolate is melted, you begin dipping. First use a bamboo skewer (or they have fancy strawberry dipping tools) by sticking it in the end of the strawberry with the green leaves. Dip and swirl the strawberry in the melted chocolate but leaving some red showing at the top. Next, dip and swirl the end of the strawberry in the blue sprinkles, leaving some of the white chocolate to show.
5. Gently set the strawberry on some wax paper (preferred) or a plate. When the chocolate completely hardens, they are ready to eat and enjoy!


