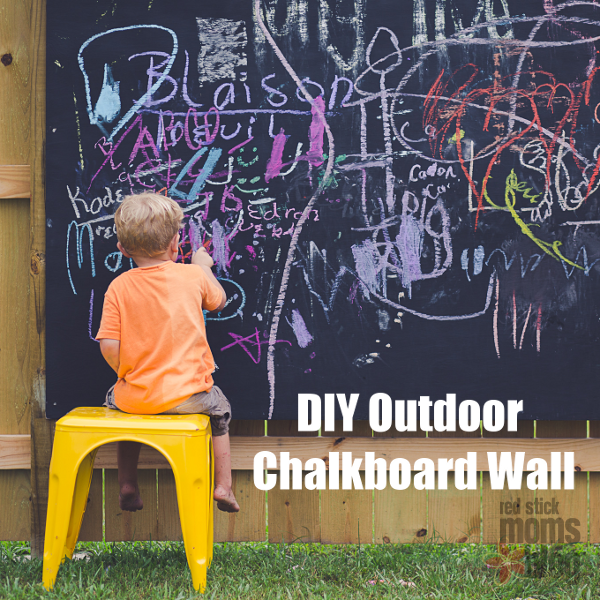
I must admit that I am not a huge fan of the chalkboard craze. As a photographer, I see it EVERYWHERE and the “I’d rather be a leader over a follower” in me was completely withdrawn from the idea. When we started our outdoor living project a few months ago, a move of the swing set to the corner of our newly fenced in yard was all it took. That move had created the perfect little nook for the boys and I had SO many plans for their sweet little play area, their own corner of the yard overflowing with outside fun just for them and this chalkboard was on the top of my list! After a quick trip to Home Depot, $40, and an afternoon of priming and painting I scratched this quick and easy DIY off my list and moved on to the next!
What You’ll Need:
– 1 sheet of “BCX” plywood (BCX is the grade of plywood, it’s a bit prettier and tends to be better for outdoor projects without breaking the budget.)
– 1 quart KILZ 2 Latex primer
– 3 cans chalkboard spray paint or 1 quart of chalkboard paint
– Paint brush and/or roller
– Handheld sander and sand paper
– Hammer, nails, and a level for hanging
– Chalk, don’t forget your chalk! The fact that the kids can have all the chalkboard fun their little hearts desire after all of your hard work is the most rewarding thing ever!
How To Make:
1. First, you’ll need to prep your plywood. Begin by giving it a good sanding, making sure to round your edges and corners. Plywood can be pretty rough on the edges with splinters sticking out all over just waiting on tiny hands. Once you’ve sanded it down to a nice smooth surface, wipe it down removing any dust from your board. I took one for the team and ran my fingers down all the edges making sure there wasn’t something I missed.
2. Now that your board is dust and splinter free, you’re ready to prime! Because I’m super impatient, I used a paintbrush to apply my KILZ…it was all I had! I would strongly suggest rolling it on, it would cut your time down drastically! Be sure to apply a good coat to both sides and all edges. I painted outside in direct sunlight, this helps tremendously on drying time. By the time I was finished with one side, almost all of it was already dry! Remember that painting every surface is crucial to the longevity of your board. Primer is keeping the water from soaking into your board, preventing warping and rot.
3. Once your KILZ is completely dry on both sides and edges. It’s time to pull that sander out once more. This time, give your KILZ a quick sanding with low grit sandpaper. KILZ has a tendency to rough things up again and we want this to be a smooth as possible both for the kids and for cleaning. A smoother board makes for an easier erase!
4. Now it’s time to apply the chalkboard. Depending on how you decide to apply it, either spray or roll it on. Don’t feel the need to cover both sides either, I only painted one side and the edges. Once you’ve established a nice, solid coat let it dry! Like I mentioned earlier, I painted in the direct sun so my dry time was pretty quick. If painting in the shade, make sure your surface is dry to the touch.
5. Ok, now for the fun part! Grab your hubby or a friend and hang your chalkboard! If possible, hang it between two 4×4 fence posts. They fit perfectly between them and having the added support of a stout piece of lumber is always a plus 🙂
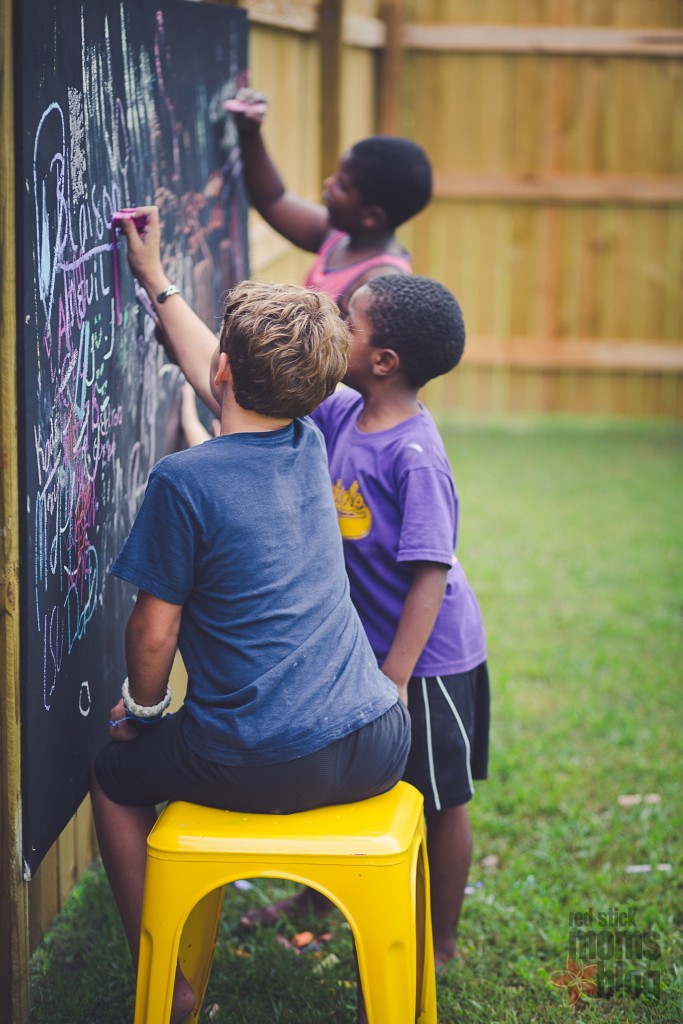
Now that your hard work is done, it’s time to reap the benefits! Give the kids the chalk and let them have at it! I love the way our chalkboard adds a little charm to our yard, a touch of color on a continuously brown fence is just what the doctor ordered. From learning our shapes and colors to family game night with lots of Hangman and Tic-Tac-Toe, the possibilities are endless with this fun little addition!
**I already owned a sander, hammer, nails, level, and paint brush so these items were not included in my $40 total.













Love it! You are such a beautiful, creative and wonderful mother!!!
Hi! I saw some chalkboards on Amazon and since I’m not wonderful with measurements I was wondering how much bigger a DIY chalkboard would be. I see so many pins about chalkboards so there must be some advantage to making your own?
https://www.amazon.com/gp/product/B0018N72T0/ref=ox_sc_act_title_1?ie=UTF8&psc=1&smid=A2JGYIDSALLFP6
is this waterproof?