


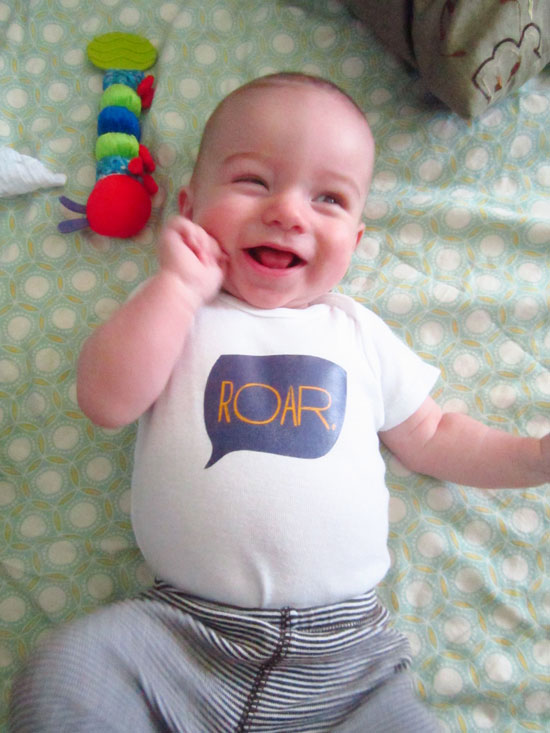
I stumbled into the wonderful world of iron-on transfer sheets when LSU football season was quickly approaching and my 4-month-old had nothing to show for it. I browsed a few shops online and was a bit surprised how expensive their options were. And then it hit me: “I can make this.”
And so I did.

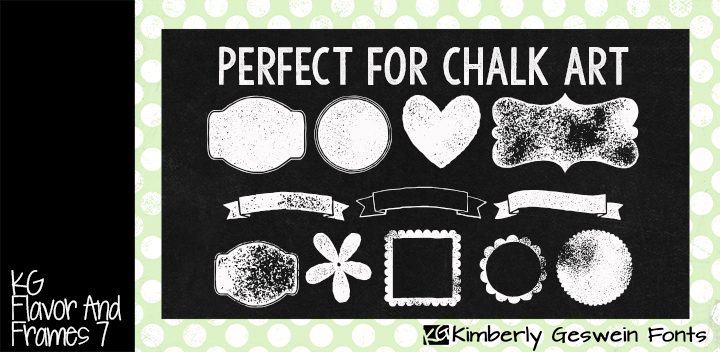
And you can too. Here is the number one key that I learned to make your shirts look like a design and not scream “iron-on transfer”: make sure your design fits within an easy-to-cut-out border. For this, you’ll need to make a shape or download a couple free dingbats that are easy to cut out. Here is one of my favorites:
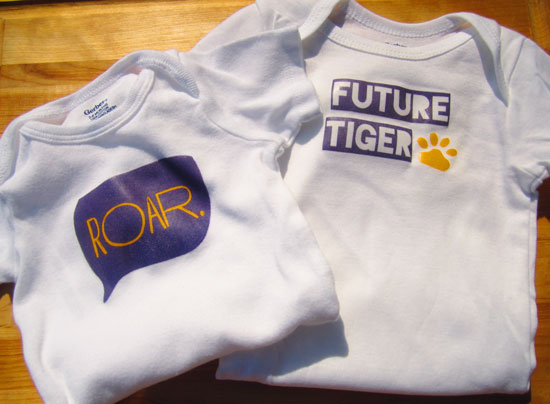
From there, you can design it in Word, Publisher, Photoshop, or my personal favorite, Illustrator. I suggest using a white T-shirt since it’s more forgiving and your design will appear more crisp.
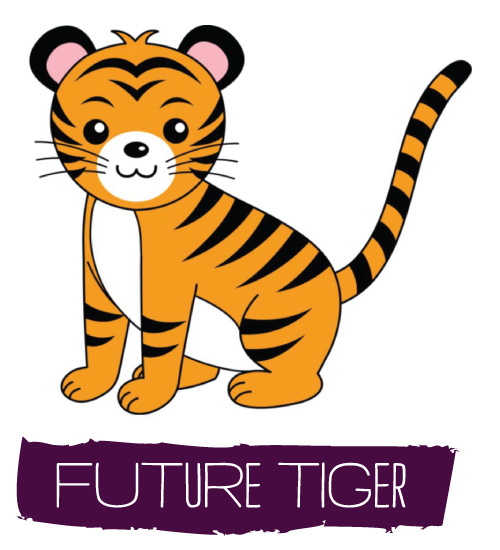
If designing something from scratch intimidates you, then you can also Google search an image and put “clip art” after it, e.g., “tiger clip art,” and you can save the image, size it to your shirt, add a message in an easy-to-cut-out shape, and voila!
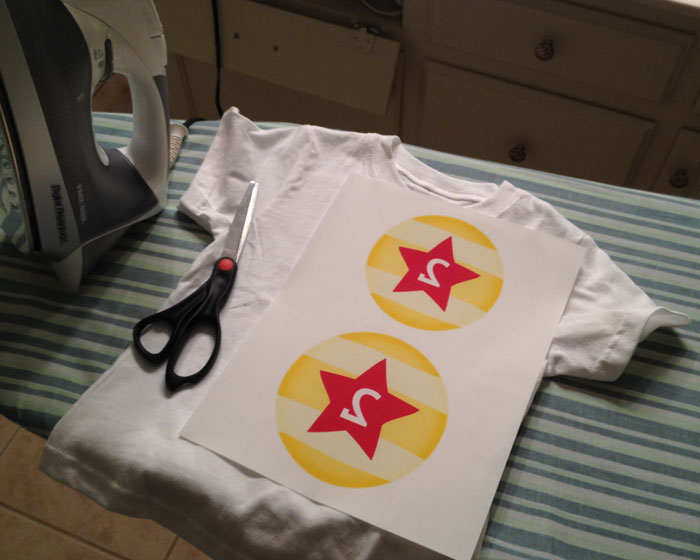
After you’ve made your design, you’ll follow the directions on the T-shirt transfer box. Basically, you’ll need to make it a mirror image and then just print and cut. I like to cut as close to the design as possible without leaving much white border so it doesn’t show up on my shirt later.
I’m currently working on Judah’s birthday shirt, so here is what I’m doing:
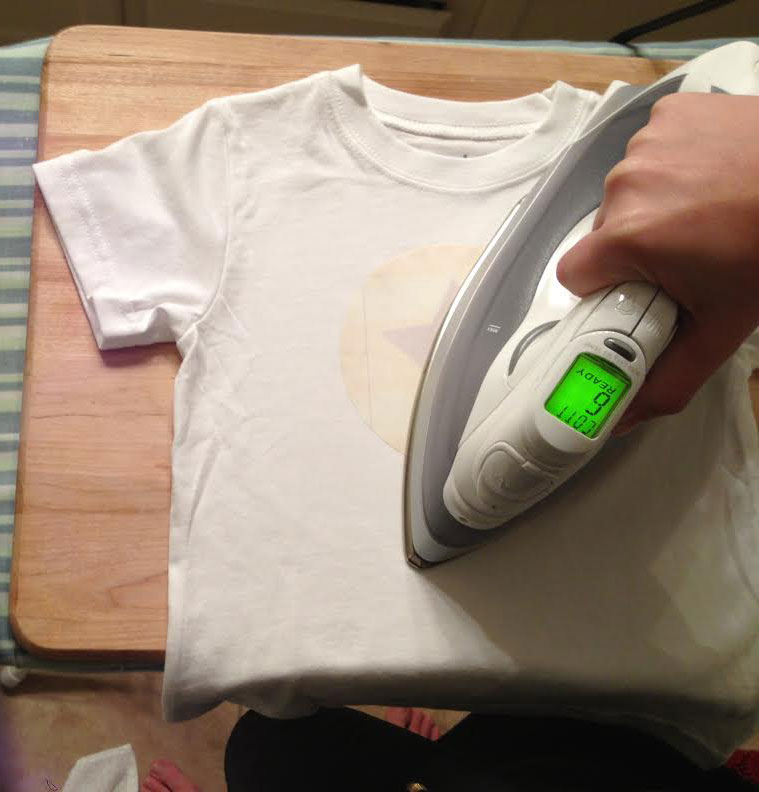
After you cut out your design, then you determine where you want your design to be. Next, run a hot iron over your shirt to get the wrinkles out and to prepare the surface; now lay your design face down.
This is the most important part: ironing. I like to take my time and place the iron over the entire design for a few seconds and then press down as I move the iron around, being sure to press hard and get the edges really well.
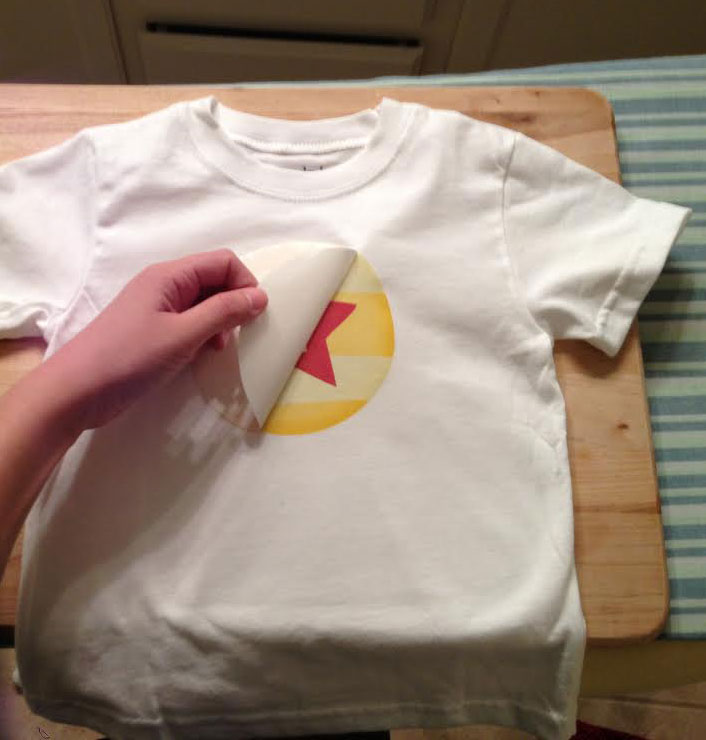
After I’m done ironing (about a minute), I count to 45 or 60 before I find a corner to start peeling from. If you want a more shiny design, then you can wait longer. This is the best part!
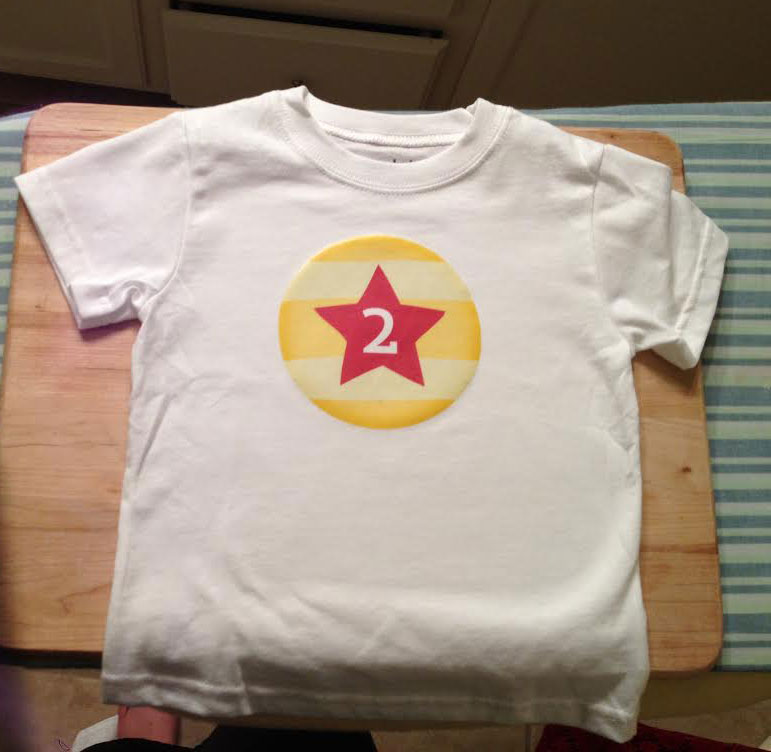
Then it’s ready to go! I showed Judah and he was pretty excited about wearing a ball (he’s obsessed!). It may not even make it to his party–we’ll see. Note: I like to wash my shirts after I put the transfer on just to give a littler more wear to them. Be sure and put it inside out for the first wash. Judah’s shirt last year lasted all year long, so these definitely aren’t one-time-only shirts.
Once you’ve got the hang of iron-on transfers and T-shirts, then you can move onto bags, totes, aprons, etc.


