For me, the hardest part about being a working mom is missing my kids – simple as that. And I think most of my fellow working moms would agree. Because of this, we usually have pictures framed on our desk or tacked to our board because we miss those faces. Something I saw recently got me thinking of how I could create a statement art piece for my office that incorporates my boys on the cheap. And it came to me – get my kids to make it!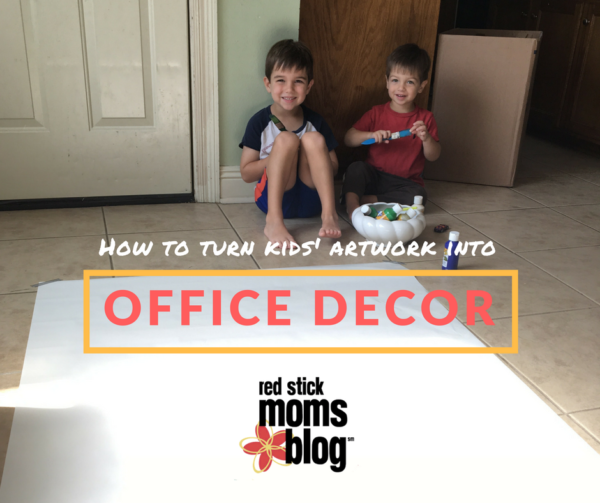
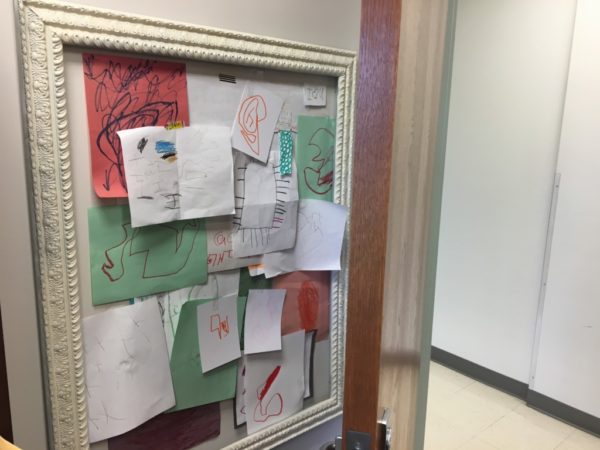
Having pictures of your kids is wonderful, but when I see their artwork, I just melt. I already have an element of this that I started anytime my kids come to visit me at work. I found a frame on the side of the road, spray-painted it, and tacked it up on my wall behind my door. It didn’t take long to become quite a collection, and it’s what I glance at when I’m missing those kiddos. Also when I was pumping, it would help relax me and think positively.
But getting back to the art piece! I usually have white wrapping paper on hand for the boys to color or paint on. However, I usually just use it to wrap presents or toss when they are done. But in this tutorial, I’ll show you how I turned their art into my office decor.
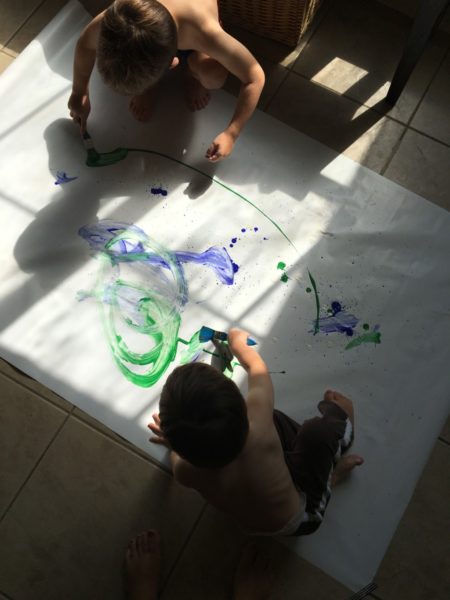
Roll out wrapping paper, bulletin board paper, or even the back of a poster to your desired size. Pick out the paint colors you want to use, and let them have fun! I used kid’s paint because of my youngest, but with older kids, you can use acrylic. I stood above them and squirted out globs of paint, and they went for it.
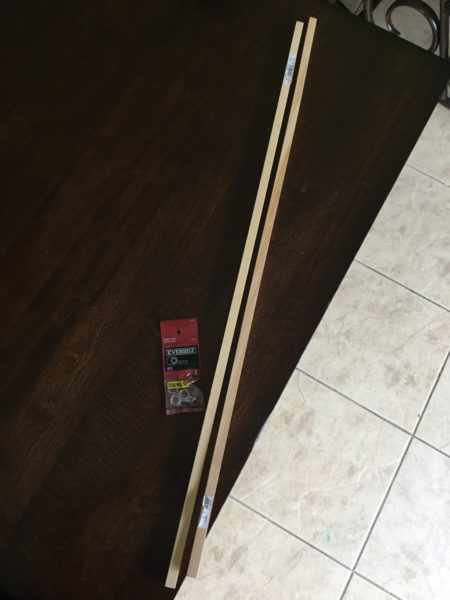
For the hanging equipment, make a trip to Home Depot and get two 36″ wooden dowels in the trim section and a pack of screw eyes (or eye hooks) in the screw/nail section. I would recommend the thicker the dowel the better (like in this tutorial), but I went cheap and got the $1 option. I also didn’t include a picture of rope since I already had some, but you can use thin rope or twine – it just needs to be thin enough to fit through the eye hook. I like the thickness and texture that rope brings, so I prefer it. But there are so many ways you can hang it!
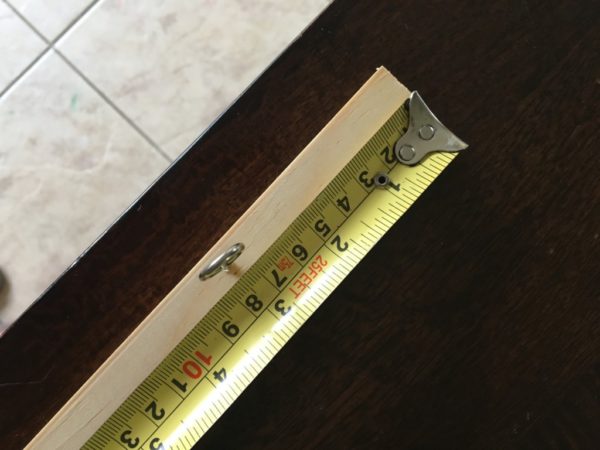
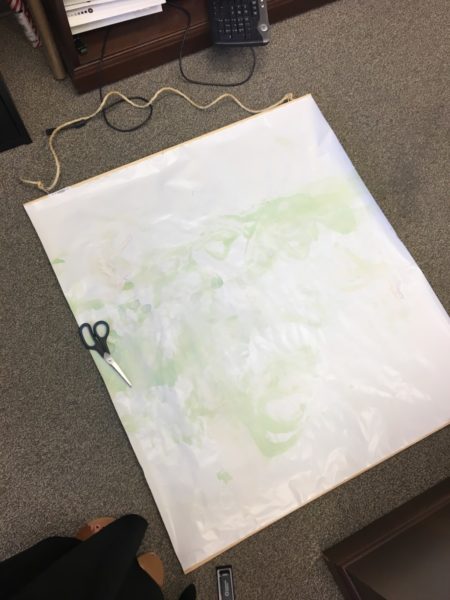
Next, screw in your eye hooks. I did each about 3 inches from the end, but it’s just a personal preference and not scientific. You don’t need any tools to do this, you hold, push, and screw it in. Then you can thread your rope in the hooks and knot it off. I like to leave plenty of rope because I usually adjust once I hang it.
Almost done! Before attaching the paper to the dowels, trim any excess paper and make it the size you like. Then, the last step is to flip the piece over and staple the paper to the dowels. Put a lot of staples in there with minimal spacing between. You don’t want it to sag in spots along the dowel. And finally, hang it up!
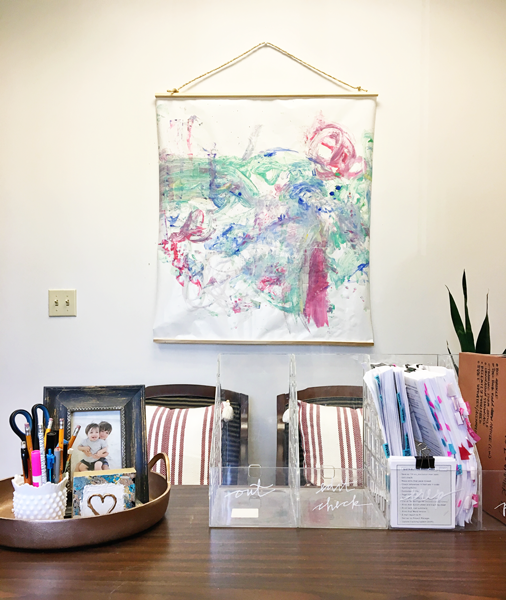
I’ve had it up for a few days now, and it makes me so happy. I can still see the boys painting it in my head, and the little handprint in the corner and finger prints throughout are my favorite.
I hope this encourages you working moms to make your office a place that helps missing your kids a little easier. Now, the hard part is finding time to tackle a DIY project between office deadlines and diaper changes. Good luck!


