


Cue the Christmas music and hang up your stockings, it is finally Christmas time y’all! With only weeks away from Santa’s arrival, we wanted to do something to inspire you to keep the little ones occupied. So, we bring you “12 Days of Christmas Crafts.” Much like the popular Christmas song, we will give to you a new Christmas craft idea for 12 consecutive days. The posts will include everything you need to know from ingredients to instructions to little tips. Let’s get right into it!
On the first day of Christmas, Red Stick Mom gave to me … Contact Paper Christmas Tree.
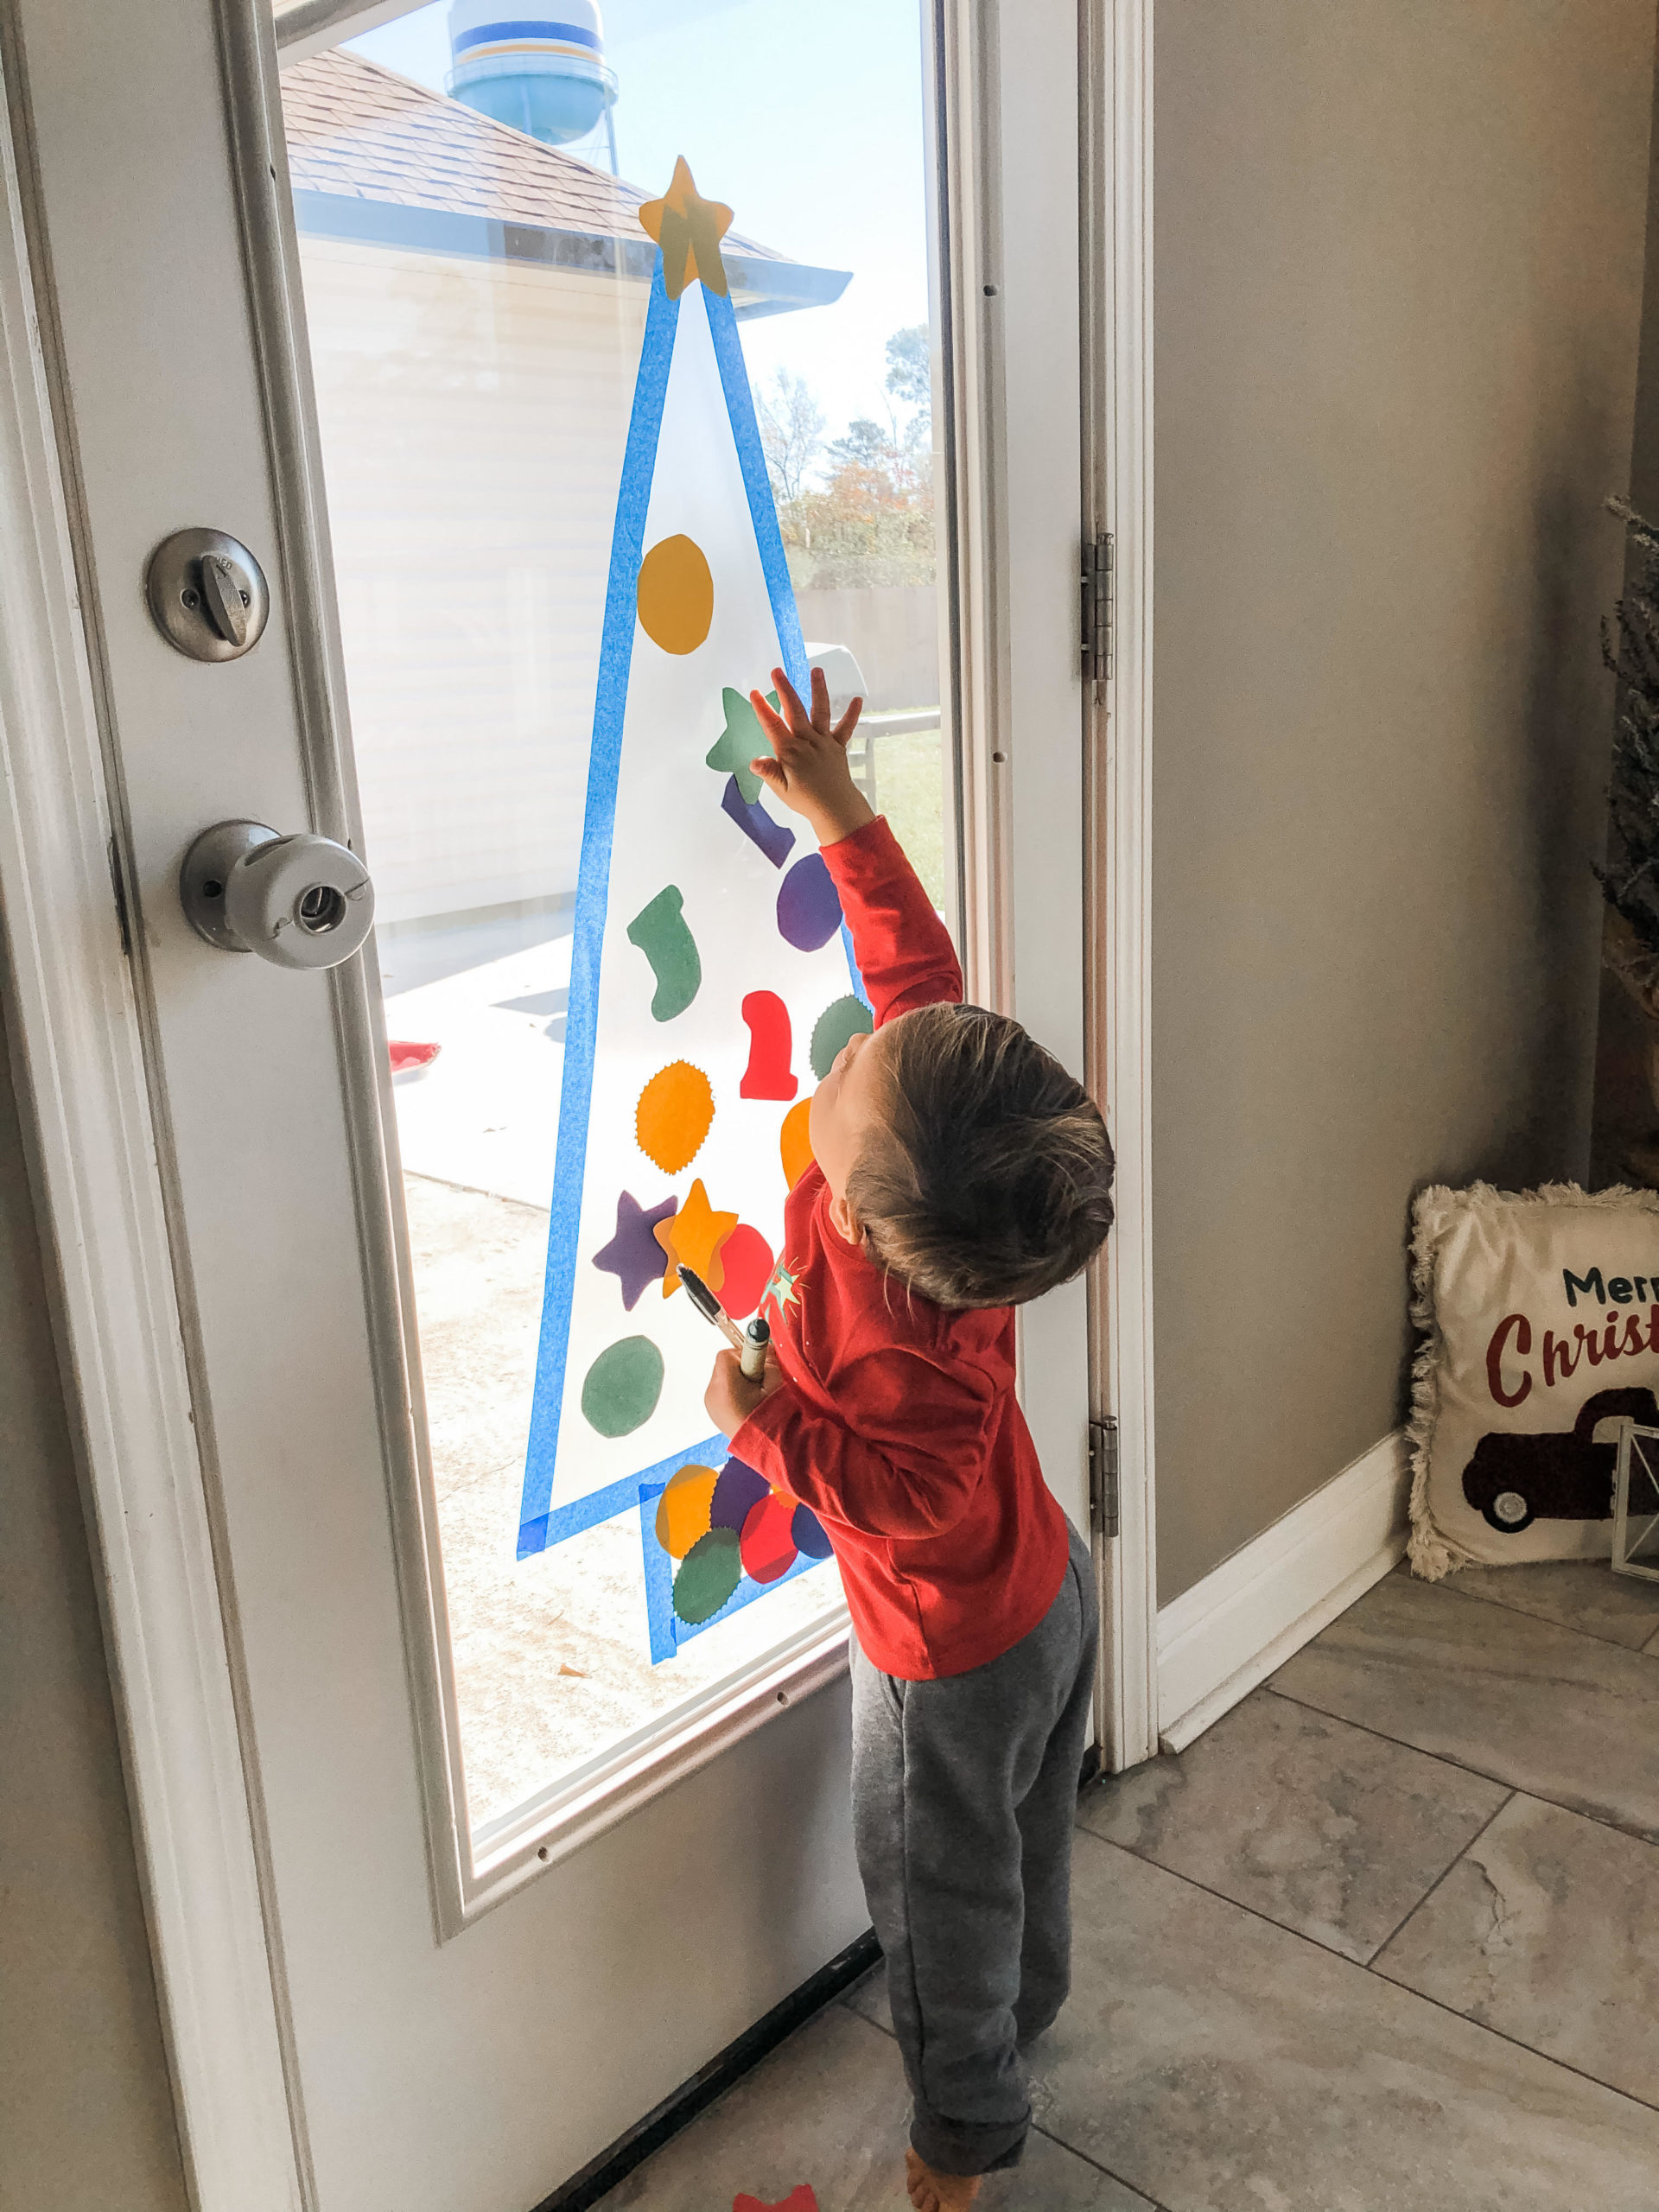

This activity is perfect for repeated pretend play and for color recognition for those younger ones at home. Because the contact paper is so sticky, this is a multiple use activity.
What you’ll need
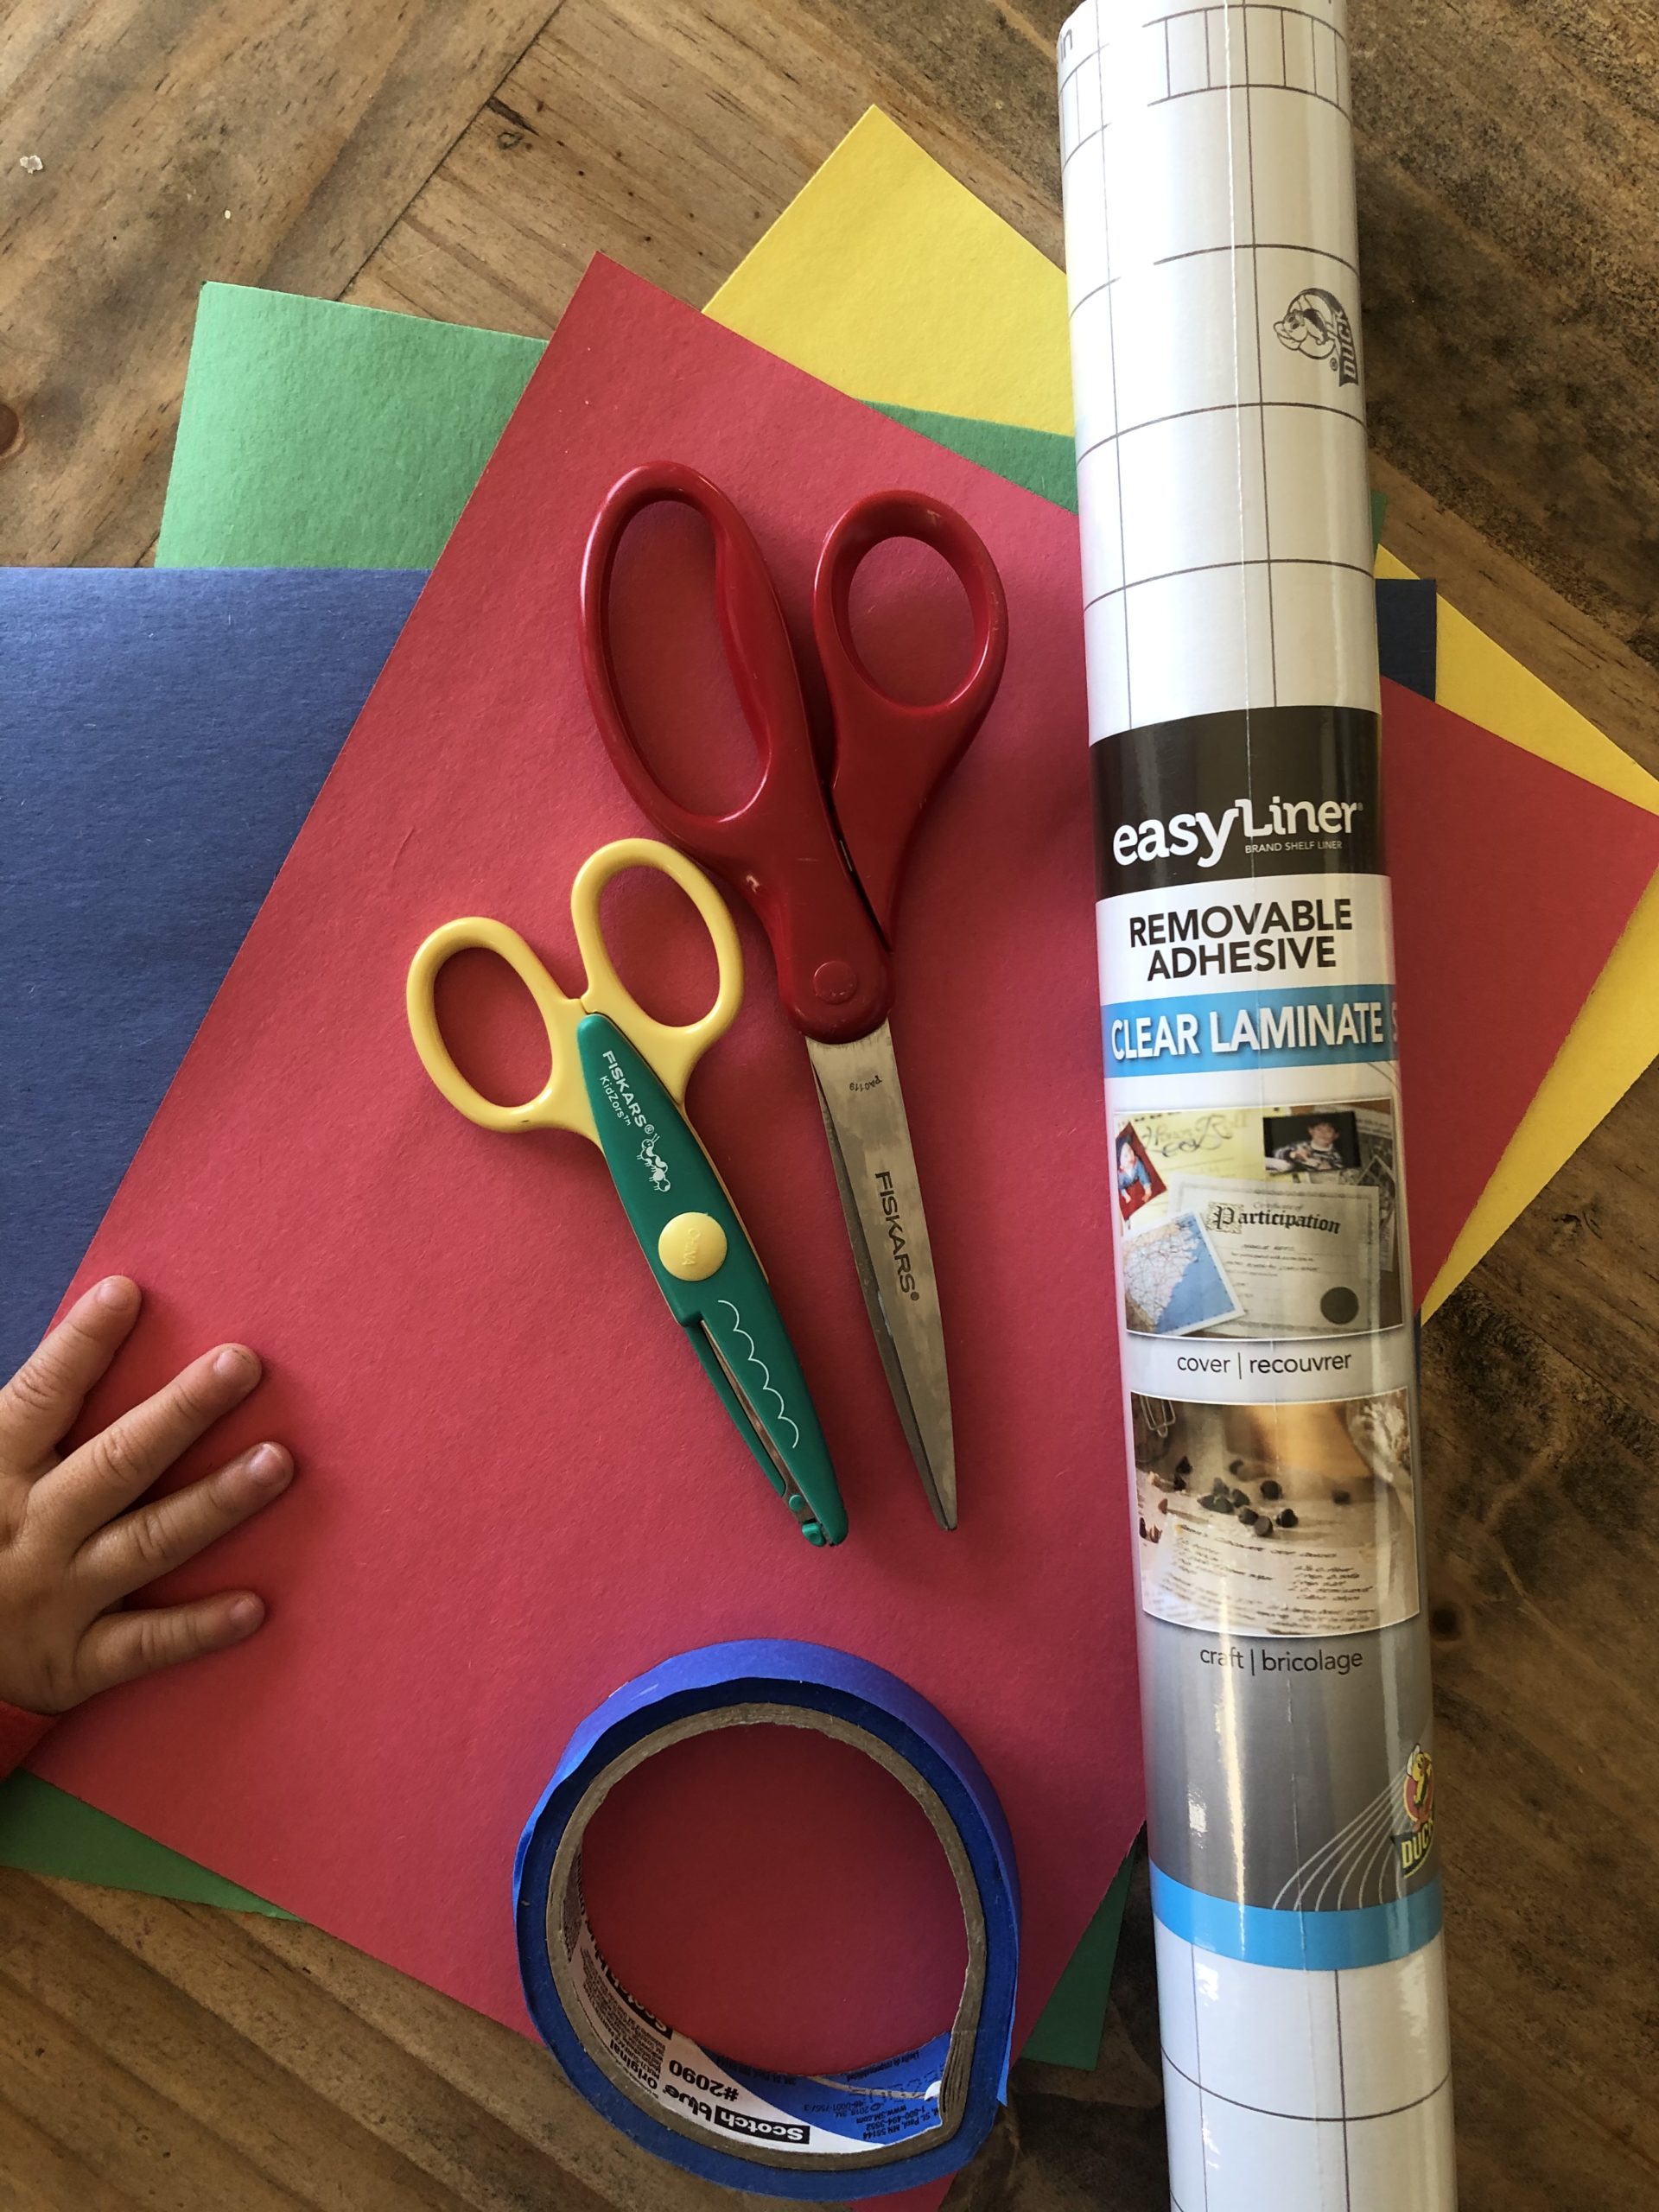
- Contact paper
- Construction paper
- Painters tape
- Scissors
- Optional: cookie cutters
How to
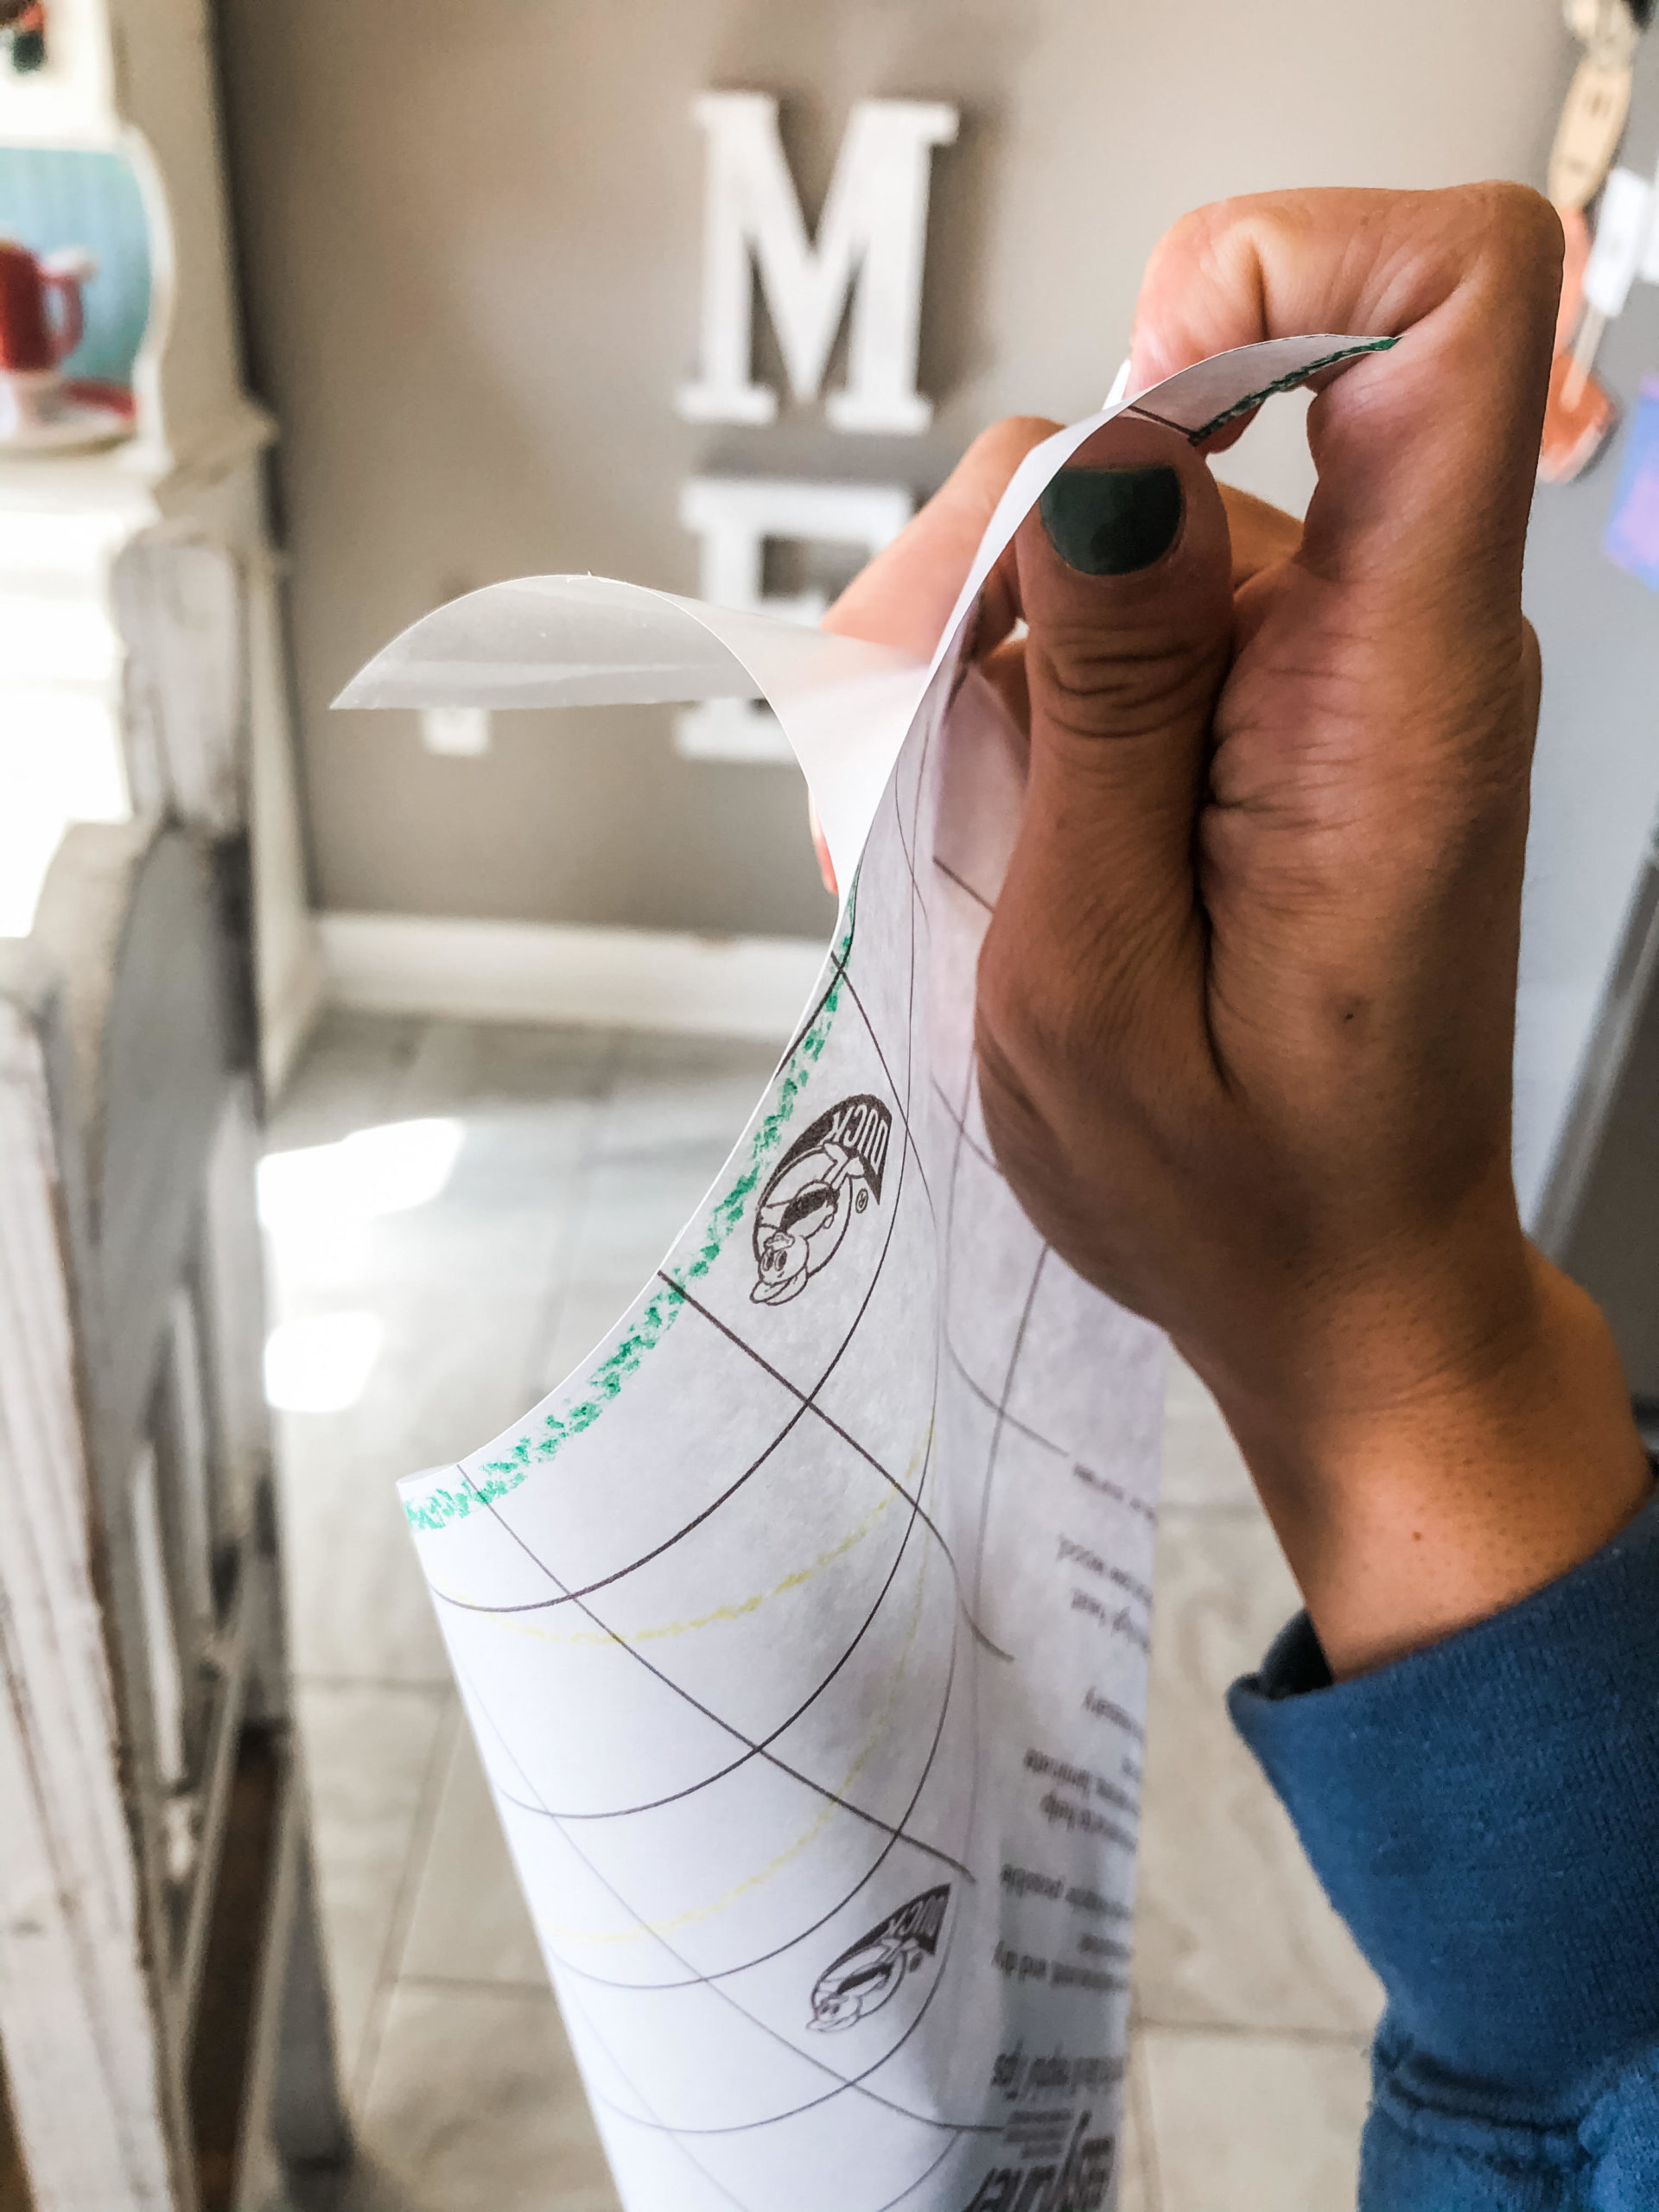
Draw a triangle on the contact paper to form the tree then cut it out. Peel the backing off of the contact paper and discard the paper portion.

You are going to face the sticky side of the contact paper outward and use the painter tape to secure the contact paper to the surface you’re using. Repeat this step for a square as the base of your tree.
Using cookie cutters, trace the cookie cutter shape onto the construction paper then cut it out.
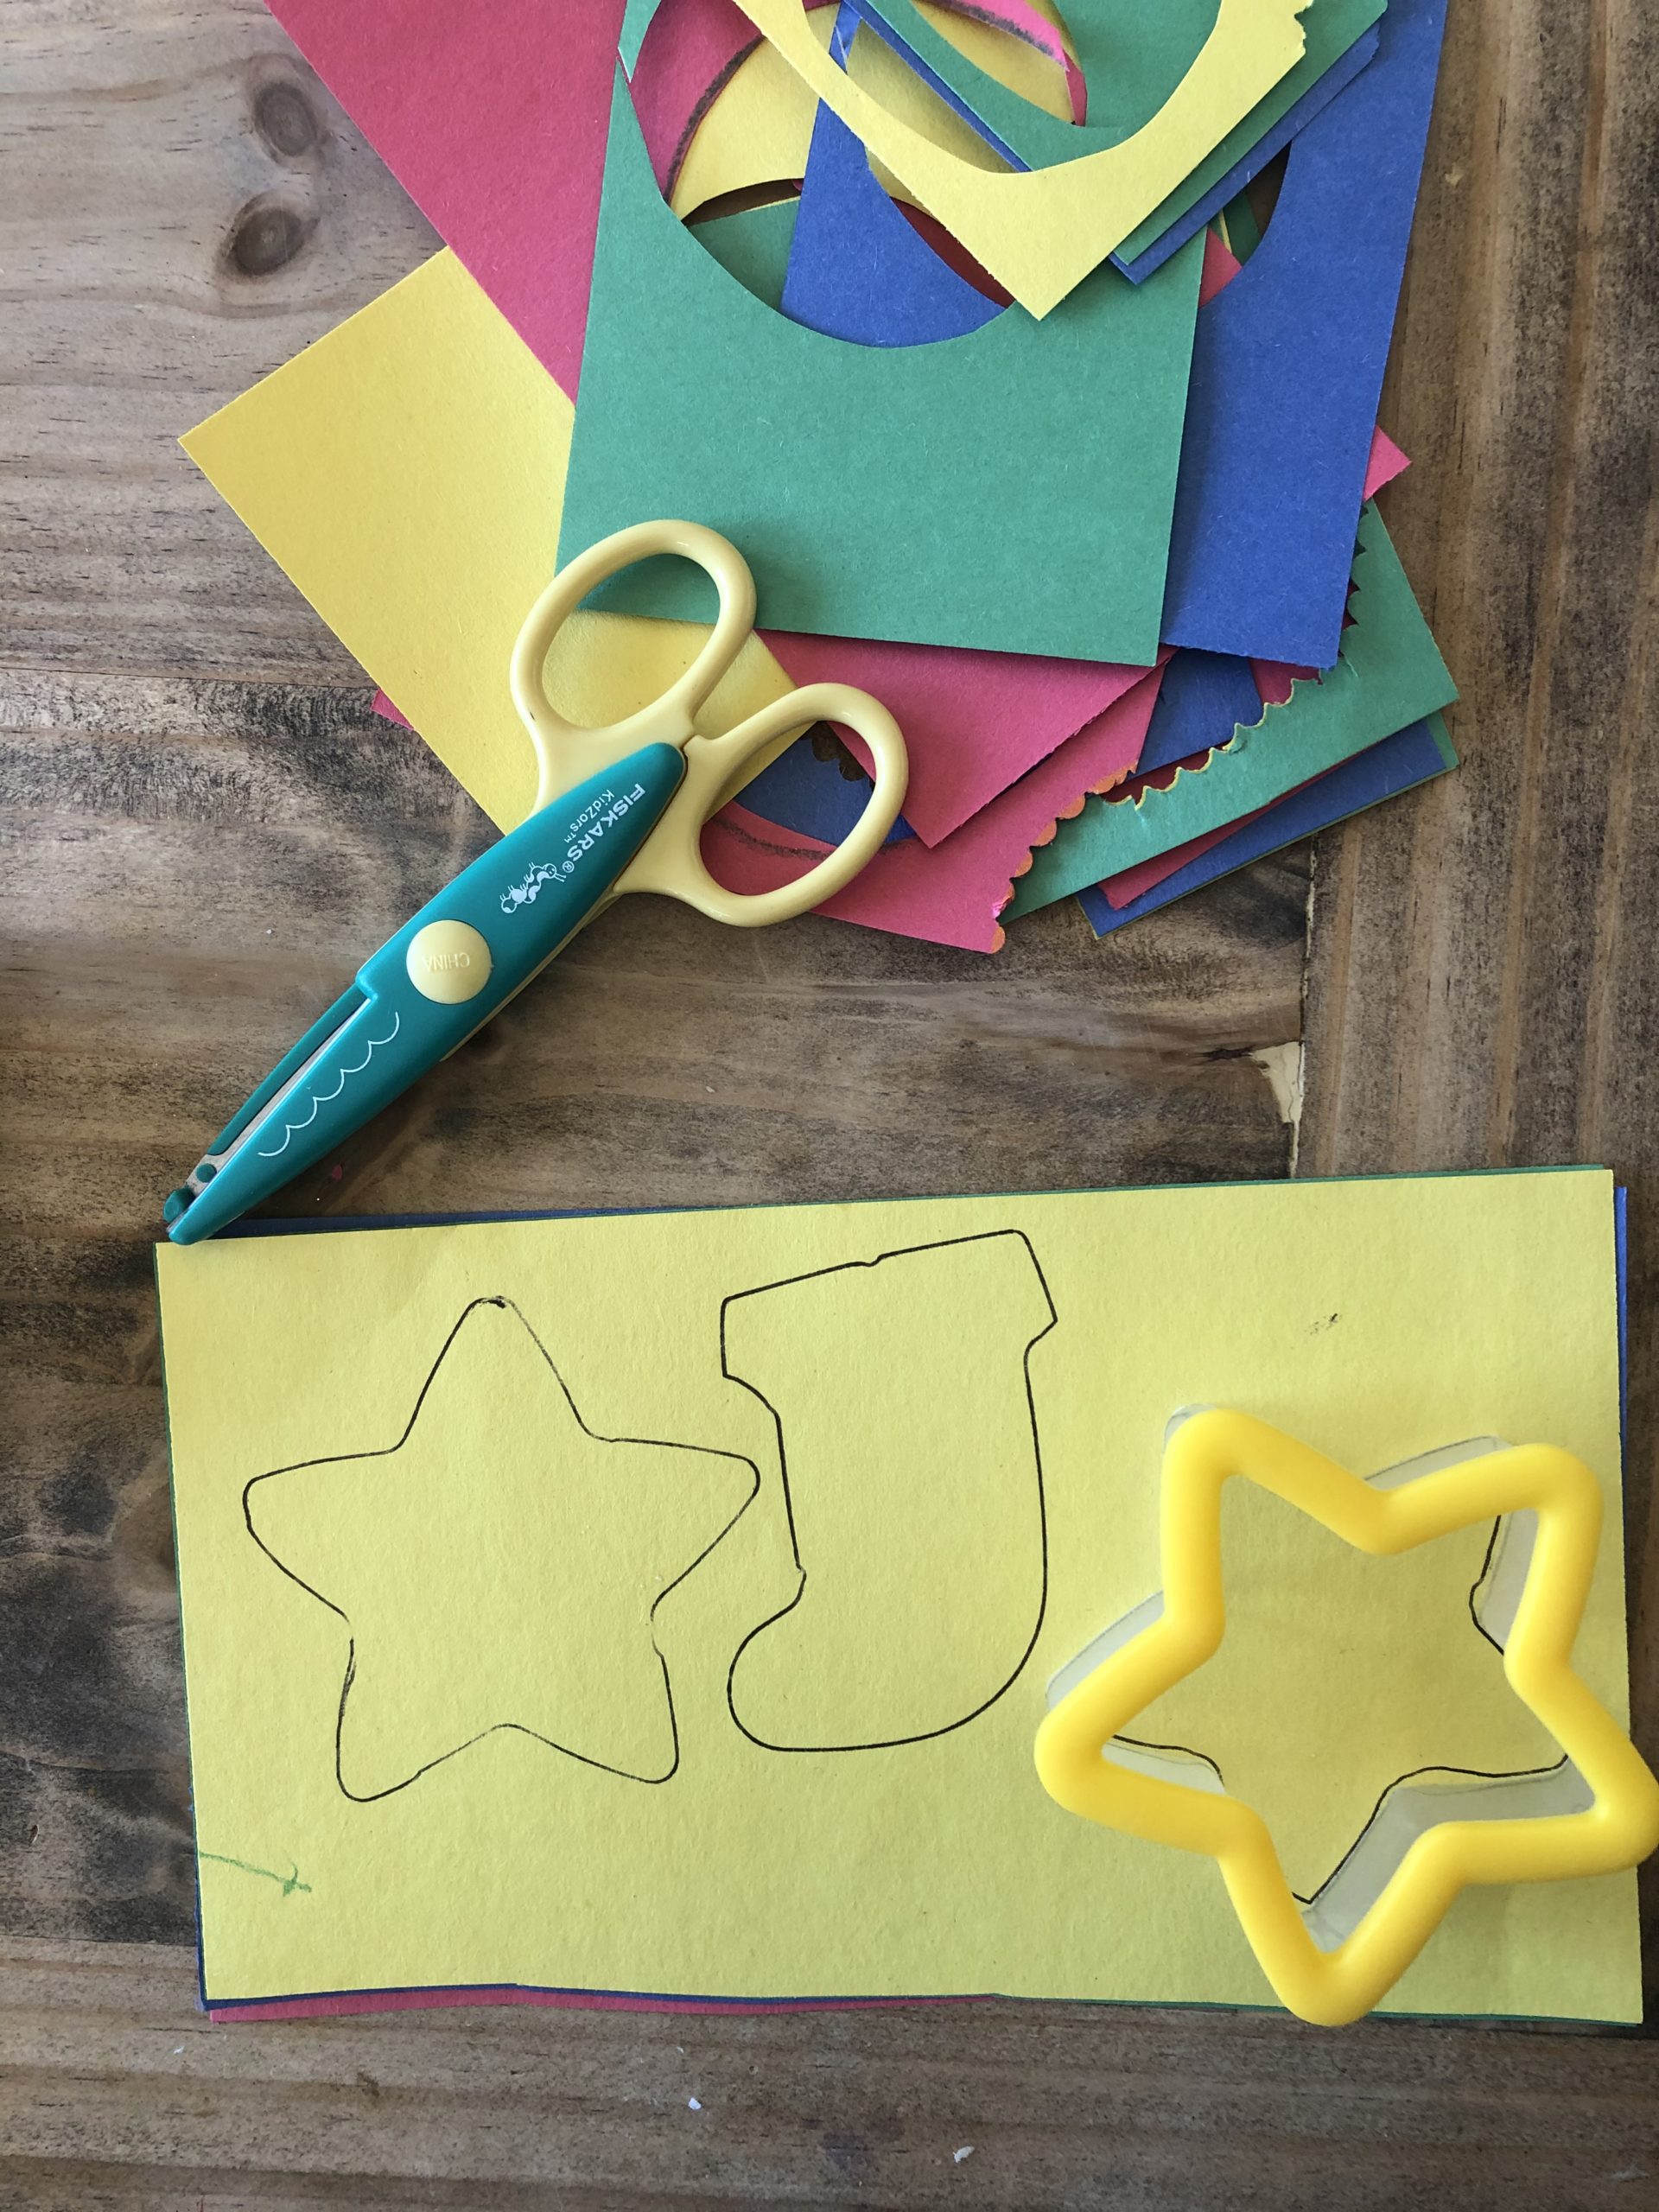
If you’re not using cookie cutters, just draw circles on the paper and cut them out. These will be your ornaments for the tree.


