


I think most moms can relate to the pain that comes with buying box after box of diapers. Not only do you go through an insane amount of diapers each month, but after a while, you are left with piles and piles of empty boxes.
I don’t know about you, but it honestly pains me to throw away good-sized boxes. First I used them to organize all of Judah’s clothes as he outgrew them. Then I saved some to wrap presents during the holidays. And then I put a couple in my car to organize Judah’s toys and overflow. But even after that, we still had more!

So in an attempt to make use out of the many boxes we’re left over with as a disposable-diapering family, I decided to repurpose them, but this time, in a pretty way that I could use for decorating purposes.
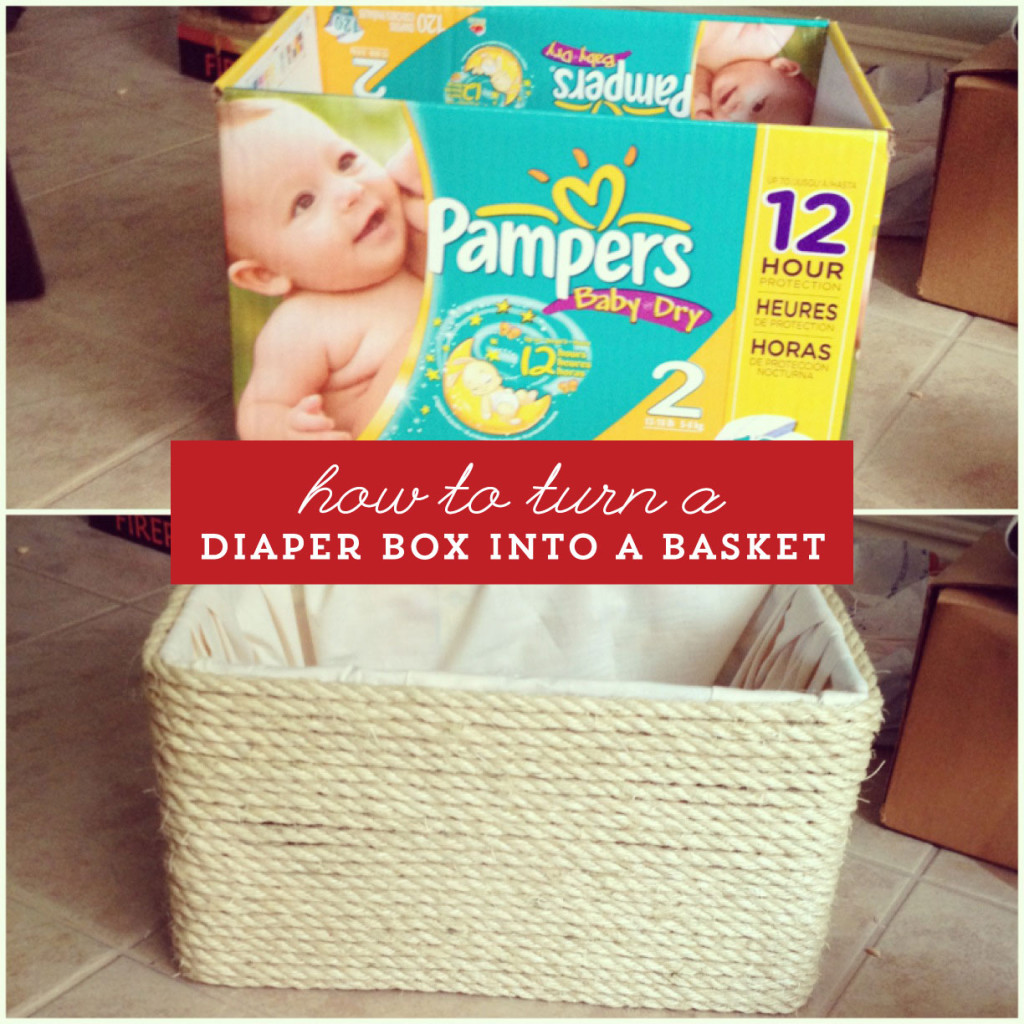
Turning a Diaper Box into a Basket
There are many tutorials on wrapping vases, shoe boxes, or wine bottles with twine, and I’ve even done one in the past and still love it. And I did actually entertain the idea of wrapping an entire diaper box in twine, but then I came to my senses and realized that with our schedule, I would probably have one box finished by the time Judah entered Kindergarten. And then I had a thought: rope!
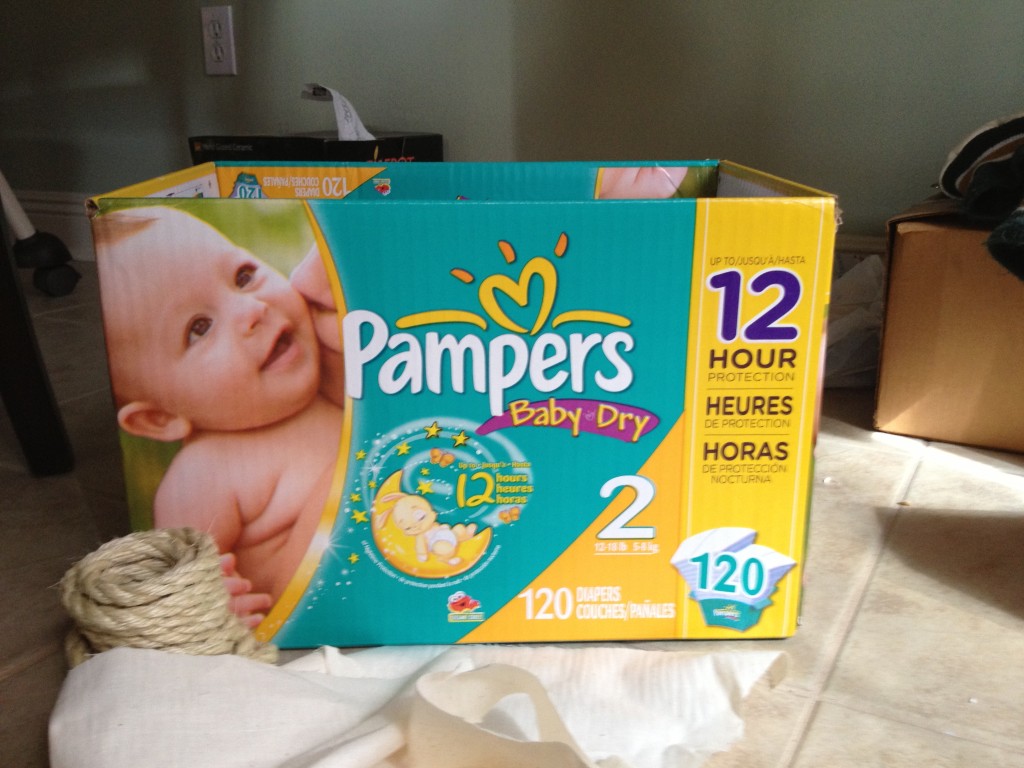
So I headed to our Home Depot and grabbed two things of rope and got to work. I used leftover fabric that I had to line the inside with hot glue. (Disclaimer: I am no seamstress, and I WISH I had the skill and patience to have done a neat job.)
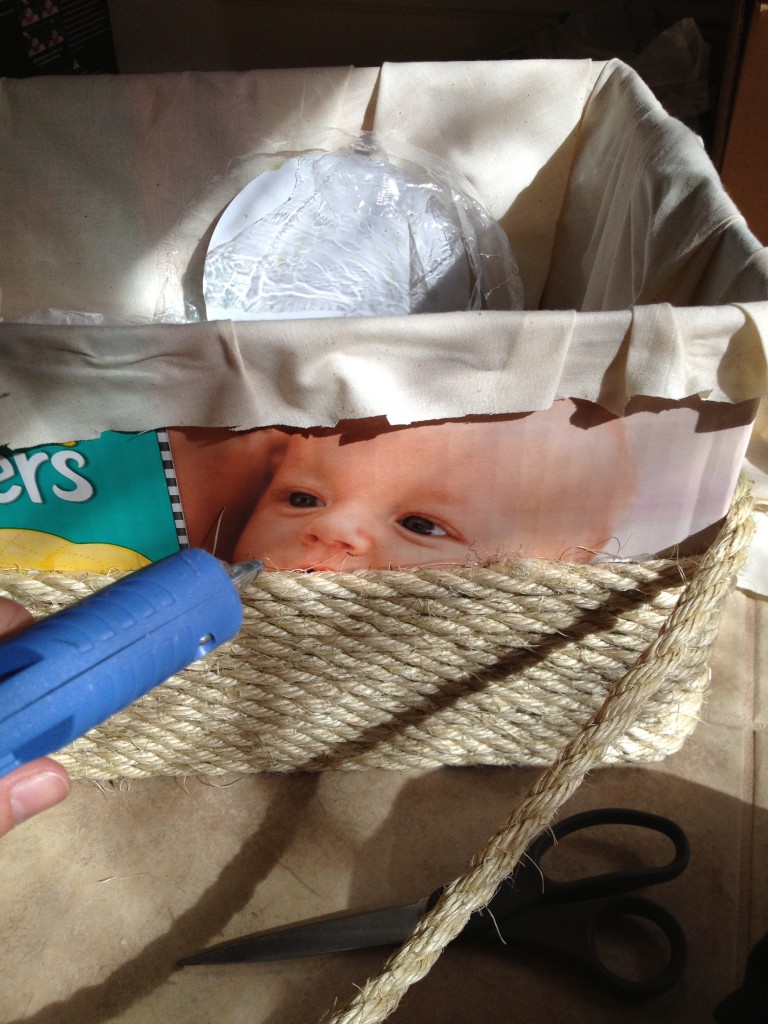
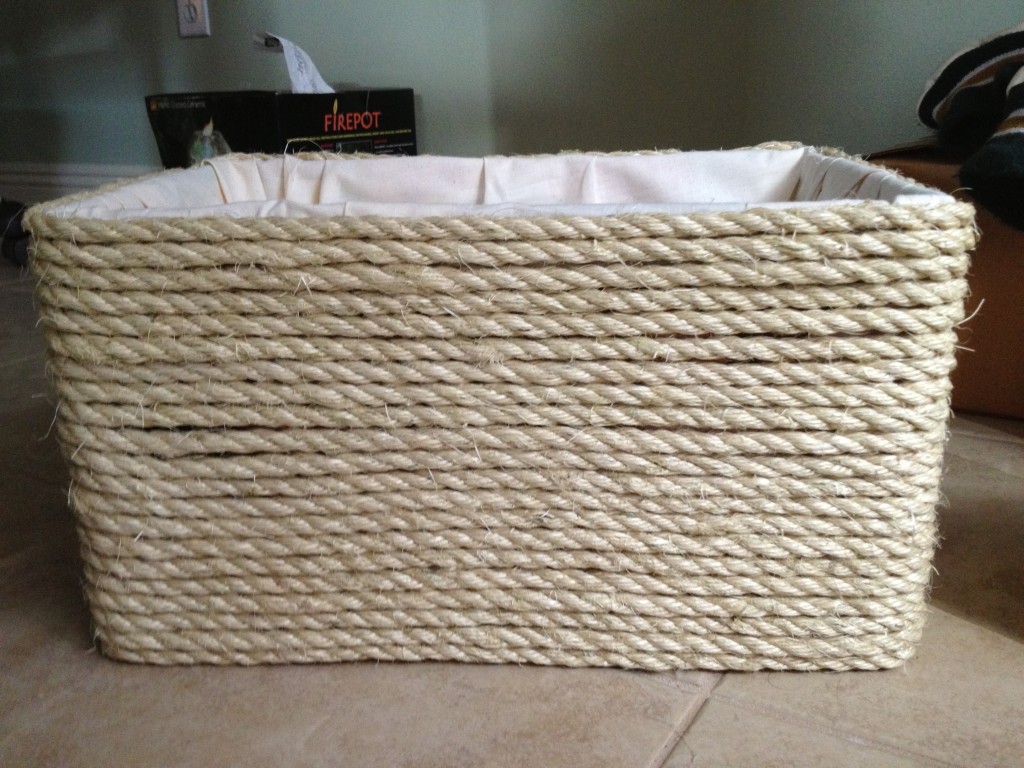
Then I just went around each row with dotted lines of hot glue and pressed the rope down. It took me two naps and I was done! It’s not the neatest job or prettiest, but it’s a finished job. And these days, those are the most beautiful! (Are you on Pinterest? Be sure to pin this if you love it and follow all the Red Stick Moms pins here!)


This is awesome, Jenny! I’ve covered diaper boxes in fabric or paint before but never would have thought to wrap one in rope! I love it!
I’ve been looking into this for a project I’m doing. I actually like the rope a lot better than the twine! Thank you for the idea.
So glad this idea could help! Happy crafting!
What a clever idea! It pains me to throw away those nice boxes too! I tried repurposing with cute scrapbook paper, but that didn’t last too long. This seems like a wonderful way to upcycle and looks very durable. Thanks for the great tutorial!
Thanks Grace! It is very durable and still going strong. 🙂 I’ve also used fabric and those came out really cute as well. Good luck!
This is awesome, I plan to do some for Christmas gifts this year! Was wondering, did you put anything on the bottom? Thanks for sharing!!!!
Did you mean because of the gap thats always in the bottom of those boxes? When I cut the flaps off the top, I tape them together and then set them in the bottom! They’re covered by the lining and make it a bit sturdier.
Hi Erin! I’m so glad you enjoyed it! I didn’t put anything on the bottom, but I’m sure you could put a piece of fabric on the bottom before wrapping it in rope. Happy basket making! 🙂
This is an awesome tutorial! I love the idea of using rope instead of twine. It was probably much cheaper too, right? How much fabric did you use and how did you secure the fabric to the box?
Hi and thanks! It was much cheaper than a basket that size and if you can find even thicker rope, it would probably be even cheaper since I had to get two rolls. I’m really not sure how much fabric it was since it was leftover, but I think a yard would be more than enough–maybe even half a yard. I just hot glued the fabric to the box. It’s not a fancy job, but it works! Hope that helps! And thanks again!!
i LOVE this idea!!! Is there anyway you can show the start of the rope and how you ended it? Thats my huge issue with these types of projects..is how to neatly start and finish them..thanks soo much (BTW how cute would it be to fill with stuff for a new mom and give at a baby shower 😉 )
Thanks Stephanie! I’m pretty sure I started the rope on the side because its easy to hide, and then I just went until I ran out of box. That way, you can turn it to the side that doesn’t have the end and its hidden as well. Does that make sense? A baby shower gift would be a great idea!! Buy the diapers for the mom and then use the box to display it all. 🙂 Good luck!!
I think you did a great job! And I like how you said, “…It’s a finished job.” Ain’t that the truth!! Ha!
I started following you on Pintrest, (@poopernugget) and will definitely repin this and try it out for myself. Thanks for sharing!! Xoxo’s
Hi Amanda! Yes–that is the motto I live by when it comes to crafts!! I used to be a perfectionist, but I learned quick to let some of that go, haha. I’ll look for you on Pinterest and thanks so much for sharing!
how much rope you need?
Hi Ellie! I went to Home Depot and got two rolls of rope. I had some left over, but I would say it takes a roll and a half. It was kind of learn as I went, so I’m not entirely sure the yardage. I plan to make some more, so when I do, I’ll have to update it with more specifics. Thanks for the idea!
I must have found the biggest diaper box ever. I bought 100ft of 1/2″ rope and it wasn’t enough :/
Oh Sharon I’m so sorry! All I remember is that I bought two rolls from Home Depot. I didn’t even think to look at the amount of feet it was. 🙁
Oh joy! I have plenty of these boxes! Thank you for the help! Do you have an approximation on the rope length needed for the box?